
Self-levelling floor compound is a game-changer for creating smooth, even surfaces before installing tiles, vinyl, or timber flooring. However, even this user-friendly product can lead to costly errors if not handled correctly. Whether you’re a DIY enthusiast or a professional, avoiding these common mistakes will ensure a flawless finish. In this guide, we’ll walk you through the pitfalls to steer clear of when using self-levelling compound, with expert tips to achieve professional results.
Inspired by insights from industry leaders like MA Flooring, this article is packed with practical advice to help you level your floors like a pro. Follow us on X at @ElymentGroup or visit elyment.com.au for more flooring expertise.

Why Self-Levelling Compound Matters
Self-levelling compound is a cement-based mixture that flows easily to create a flat, smooth surface. It’s ideal for preparing uneven concrete or timber subfloors for flooring installations. When applied correctly, it ensures durability, adhesion, and a professional aesthetic. However, mistakes during preparation, mixing, or application can lead to issues like cracking, peeling, or uneven surfaces. Let’s dive into the top mistakes to avoid.
Top 5 Mistakes to Avoid When Using Self-Levelling Floor Compound
1. Skipping Proper Surface Preparation
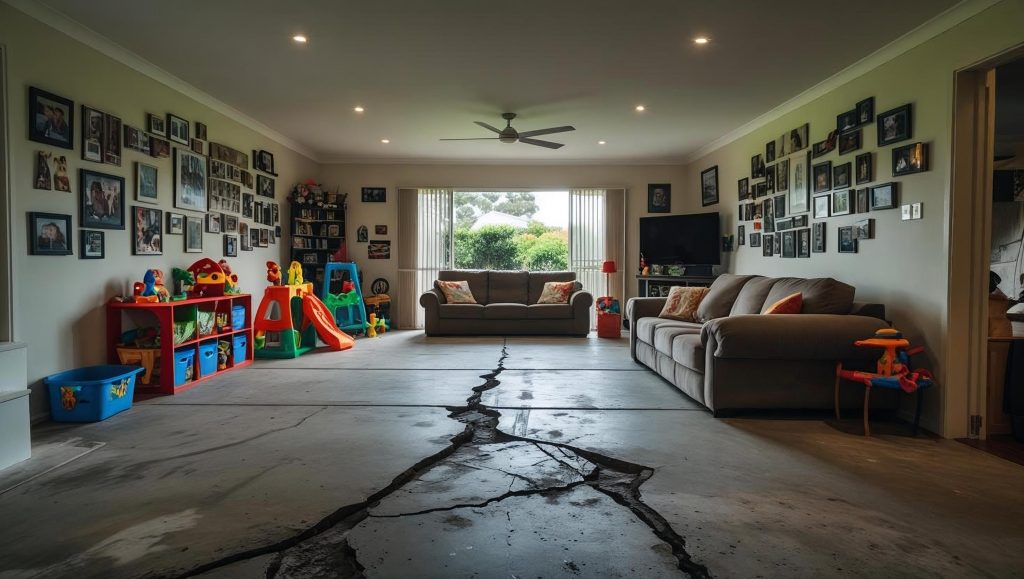
One of the biggest mistakes is neglecting to prepare the subfloor properly. A dirty, uneven, or moist surface can prevent the compound from bonding correctly, leading to peeling or cracking. According to Australian Standards (AS 1884:2021), subfloors must be clean, dry, and structurally sound before levelling.
- Clean thoroughly: Remove dust, grease, and debris with a vacuum and cleaning agent.
- Repair cracks: Fill gaps or cracks with a suitable patching compound.
- Test for moisture: Use a moisture meter to ensure the subfloor is dry, as excess moisture can cause the compound to fail.
Pro Tip: Always apply a high-quality primer to enhance adhesion, especially on porous surfaces like concrete.

2. Incorrect Mixing Ratios
Getting the mixing ratio wrong is a common error that compromises the compound’s strength. Adding too much water makes the mixture runny, leading to uneven levelling, while too little water results in a thick, unworkable consistency.
- Follow instructions: Adhere strictly to the manufacturer’s water-to-powder ratio.
- Use a drill mixer: Mix for 3–5 minutes at a low speed to achieve a lump-free consistency.
- Measure accurately: Use a clean bucket and precise measurements for water and powder.
Pro Tip: Mix in small batches to ensure the compound remains workable within its 20-minute window.
3. Applying Too Much or Too Little Compound
Applying the wrong thickness can lead to sagging, shrinking, or insufficient levelling. Most self-levelling compounds require a minimum thickness of 3mm for strength, with a maximum of 50mm in a single pour, depending on the product.
- Check manufacturer guidelines: Follow recommended thickness for your specific compound.
- Use a gauge rake: Spread the compound evenly to achieve consistent depth.
- Avoid overpouring: Excess compound can slump, creating an uneven surface.
Pro Tip: For deeper pours, consider fibre-reinforced compounds for added durability.
4. Rushing the Drying Process
Self-levelling compounds dry quickly, often within 2–6 hours, but rushing the process can cause cracking or weak bonding. Walking on the surface too soon or installing flooring before full curing can ruin the finish.
- Follow drying times: Allow 24–48 hours for complete curing, as per manufacturer instructions.
- Control the environment: Maintain temperatures between 10°C and 25°C and avoid high humidity.
- Protect the surface: Keep the area free from foot traffic or debris during curing.
Pro Tip: Use a curing agent to slow drying and reduce shrinkage in large areas.
5. Ignoring Environmental Factors
Temperature, humidity, and airflow can significantly affect the compound’s performance. Applying the compound in extreme conditions can lead to bubbles, pinholes, or uneven results.
- Maintain ideal conditions: Apply at 10°C–25°C with humidity below 75%.
- Minimise airflow: Close windows and doors to prevent rapid drying.
- Use a spiked roller: Roll immediately after pouring to remove trapped air bubbles.
Pro Tip: Check the subfloor temperature, as cold surfaces can slow curing and affect flow.
Key Takeaways
Using self-levelling floor compound can transform your flooring project, but avoiding these common mistakes is crucial for success:
- Prepare the subfloor thoroughly to ensure proper adhesion.
- Mix the compound accurately, following manufacturer guidelines.
- Apply the correct thickness using the right tools.
- Allow sufficient drying time before walking or installing flooring.
- Control environmental factors like temperature and humidity.
By sidestepping these pitfalls, you’ll achieve a smooth, durable surface ready for your dream flooring.
Why Choose Professional Help?
While DIY levelling is tempting, professional flooring specialists bring expertise, advanced tools, and high-quality materials to ensure a flawless result. At Elyment Group, we specialise in floor levelling and installation, adhering to Australian Standards for long-lasting performance. Contact us today to transform your flooring project!