
That moment of anticipation… you’ve poured the self-levelling compound, expecting a flawless, glass-like finish for your new Sydney floors. But as it dries, your heart sinks. Instead of a perfect canvas, you’re faced with a landscape of lumps, bumps, and imperfections. Don’t worry, you’re not the first Sydneysider to face this flooring frustration. At Elyment Group, we’ve seen it all. This guide will help you diagnose the problem and get your project back on track.
Why Does Self-Levelling Compound Go Lumpy?
Self-levelling compound is a fantastic product, but it’s not magic. Several factors can contribute to an uneven finish, especially with Sydney’s variable humidity and conditions. Let’s break down the common culprits.
Common Causes of Lumps and Bumps:
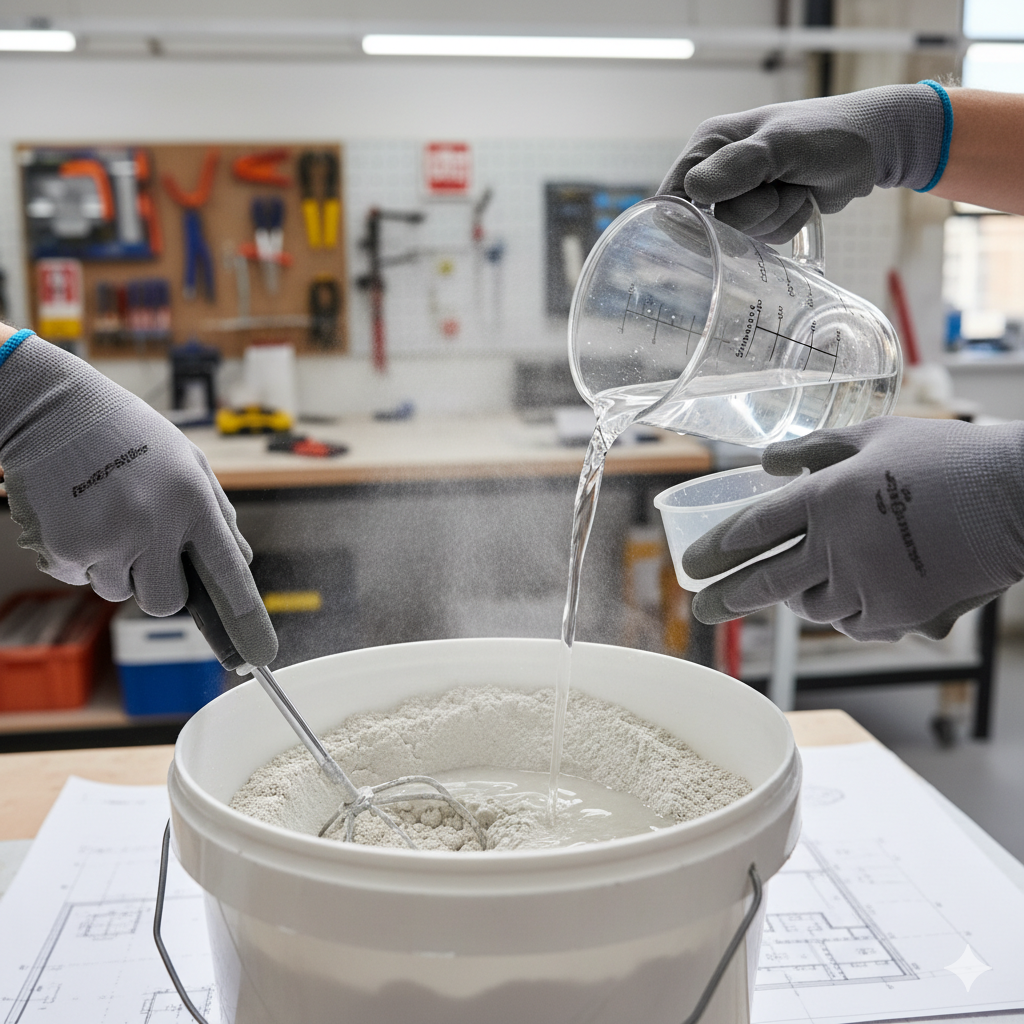
- Incorrect Mixing: This is the number one offender! Adding too much or too little water, or not mixing thoroughly, can result in a clumpy, uneven consistency.
- Poor Subfloor Preparation: Did you skip the vacuuming? Dust, debris, or grease on the subfloor can prevent the compound from bonding properly, causing imperfections.
- Air Bubbles: Over-vigorous mixing can introduce air into the compound. These bubbles can rise to the surface and create pinholes or bumps as the product cures.
- Drying Too Quickly: A draughty room or direct sunlight can cause the self-leveller to dry too fast, not giving it enough time to level out completely.
Your Step-by-Step Guide to a Smooth Finish
So, you’ve got a lumpy floor. What now? Here’s how to tackle the issue, whether you’re a DIY enthusiast or calling in the pros.
Step 1: Assess the Damage
First, identify the type and extent of the imperfections. Are they small bumps, or larger ridges? The solution will depend on the severity of the problem.
Step 2: The Right Tools for the Job
For minor bumps, a simple floor scraper might be all you need. For more significant high spots, you may need a concrete grinder. Always wear appropriate safety gear, including a mask and eye protection.
Step 3: The Fixing Process
- Scrape or Grind: Carefully remove the high spots. The goal is to create a level surface without taking off too much material.
- Clean Thoroughly: Vacuum the entire area to remove all dust and debris. A clean surface is crucial for the next step.
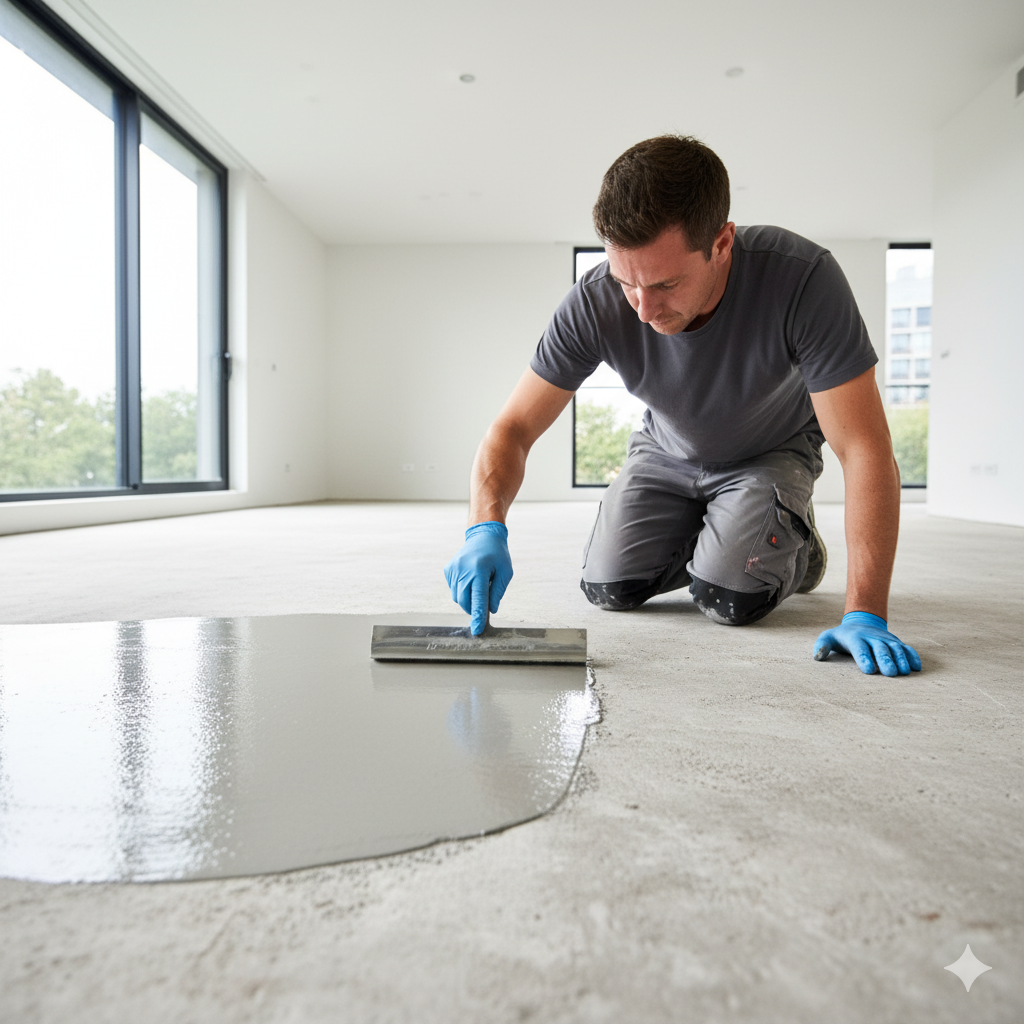
- Prime the Surface: Apply a high-quality primer to the patched areas. This will ensure the new layer of self-leveller adheres correctly.
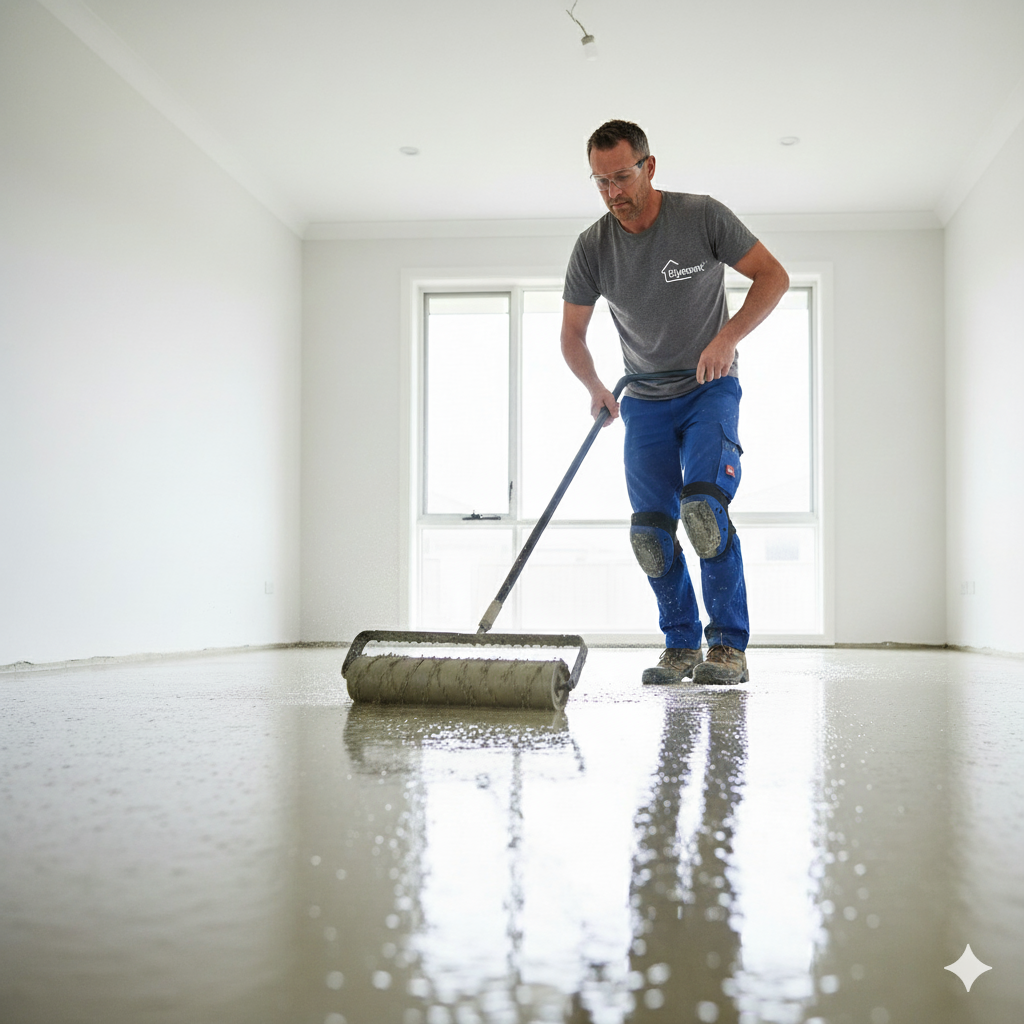
- Apply a Skim Coat: In many cases, you won’t need to re-pour the entire floor. A thin “skim coat” of a feather-finish compound over the affected areas is often enough.
When to Call the Professionals in Sydney
DIY is great, but some jobs are best left to the experts. If you’re dealing with widespread issues, or if you’re unsure about any step of the process, it’s time to call in a professional flooring contractor in Sydney. They have the experience and equipment to ensure a perfect finish. For expert advice, follow us on X @ElymentGroup.
Key Takeaways for a Flawless Floor
- Preparation is everything: A clean, well-prepared subfloor is the foundation of a smooth finish.
- Mix it right: Follow the manufacturer’s instructions to the letter when mixing your self-levelling compound.
- Don’t rush the process: Take your time and work methodically.
- Know when to ask for help: If you’re in over your head, a professional can save you time, money, and a lot of stress.
A lumpy floor can be disheartening, but it’s usually a fixable problem. With the right approach, you can achieve the smooth, level surface you’ve been dreaming of for your Sydney home. For more tips and professional flooring services, visit elyment.com.au.