Floor Sanding Sydney: Why Tiny Craters Appear in Timber Finishes
Tiny craters in a fresh timber finish signal dust, trapped air or coating contamination. Learn what causes them and how Sydney floor sanding can prevent rework.
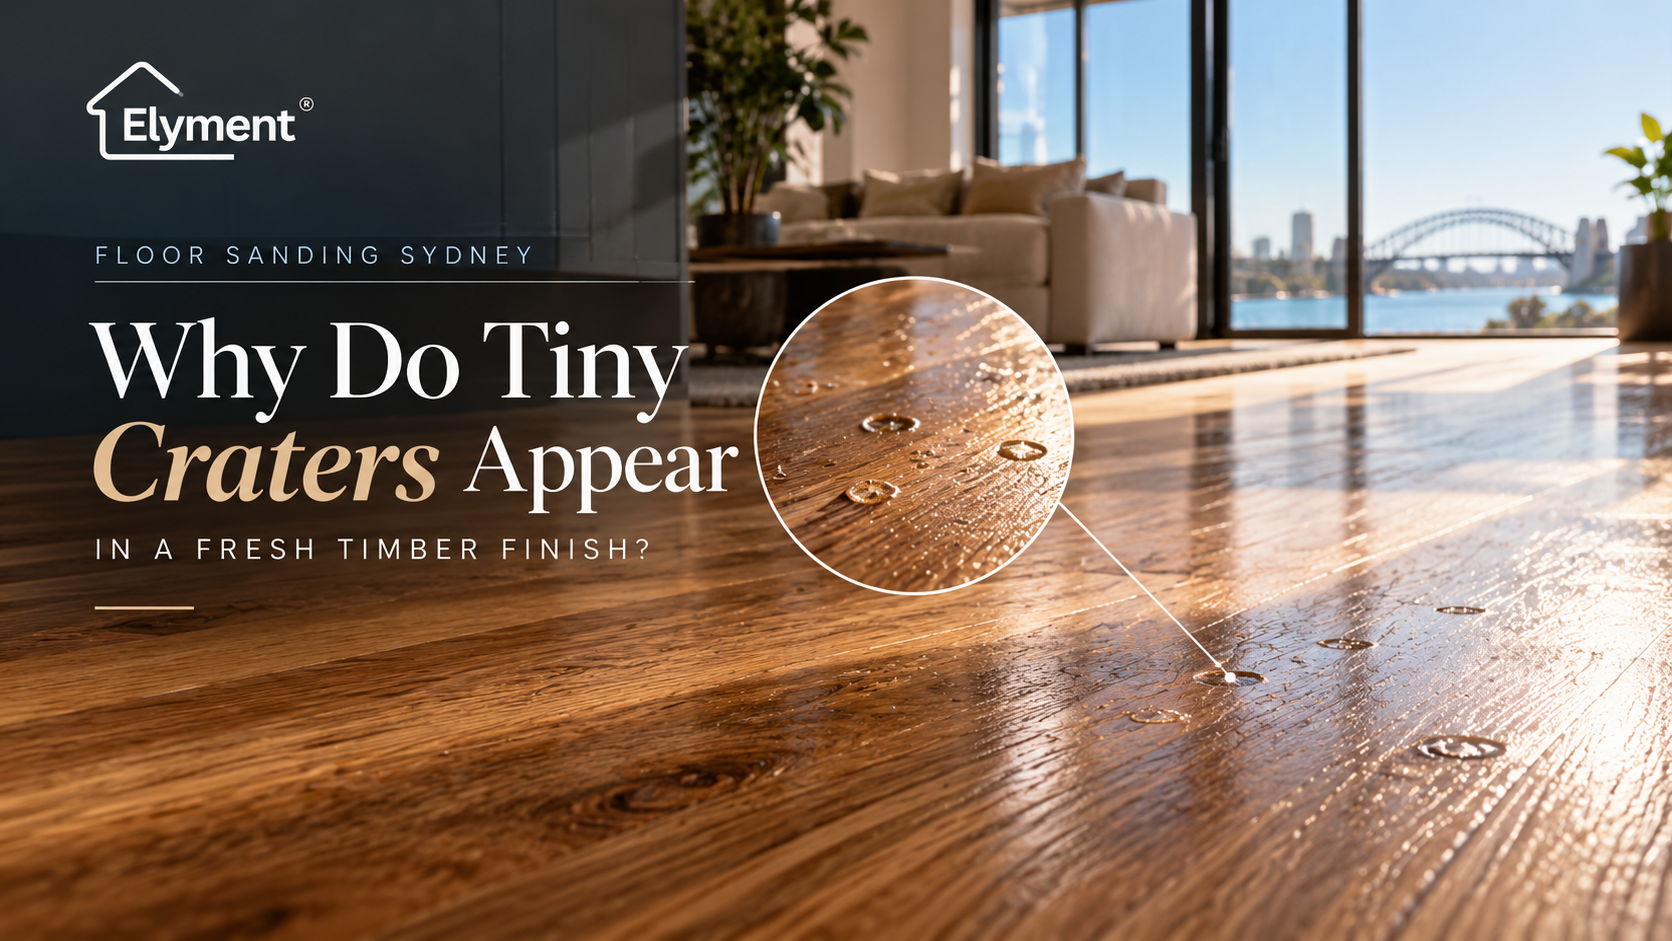
A freshly sanded and polished timber floor should have a smooth, consistent finish. However, sometimes small circular marks, shallow depressions or tiny crater-like defects become visible after the coating dries.
These imperfections can be particularly frustrating when the timber itself looks well prepared and the sanding work appears complete.
In professional floor sanding Sydney projects, these defects may be described as craters or fisheyes. They can develop because of surface contamination, incompatible maintenance products, coating application problems or issues with the existing finish.
Understanding the cause is important because applying another coat will not necessarily solve the problem. In some cases, local correction is possible. In others, additional sanding or a more extensive refinishing process may be required.
What Are Craters and Fisheyes in Timber Floor Finishes?
Craters and fisheyes are surface imperfections that appear during or after the application of a timber floor coating.
According to Basic Coatings, craters are rounded depressions in the finish, while fisheyes are described as small raised imperfections.
Both can affect the appearance of a newly refinished floor.
These defects may appear as:
- Small circular marks scattered across the coated surface.
- Shallow depressions where the finish has not levelled evenly.
- Raised or uneven areas surrounded by otherwise smooth coating.
- Repeated circular imperfections that remain visible after another coat.
Although the marks may look similar, they do not always have the same cause.
A professional assessment helps distinguish coating contamination from trapped bubbles, debris and other application-related defects.
What Causes Tiny Craters in a Fresh Timber Finish?
1. Surface Contamination Before Coating
Contamination is one of the main causes of craters and fisheyes in timber floor finishes.
Even when a floor looks clean, substances left on the surface can interfere with how a new coating spreads and bonds.
Potential contaminants include:
- Grease and cooking oils.
- Silicone-based products.
- Wax and furniture polish.
- Soap residue and unsuitable cleaning solutions.
- Oils transferred from footwear or equipment.
- Residue from previous floor maintenance treatments.
These substances can cause the wet finish to pull away from affected areas rather than forming an even film.
The result may be a small circular depression or another visible coating defect.
Contamination is especially important during floor refinishing Sydney projects involving older timber floors, where the previous cleaning and maintenance history may be unknown.
2. Incompatible Floor Cleaning and Maintenance Products
Not every product marketed for timber floor care is suitable for every coating system.
Some maintenance products leave behind waxes, oils, acrylic films or other residues that can interfere with a subsequent finish.
Problems can occur when a new coating is applied over:
- Floors previously treated with wax-based polish.
- Oil-finished timber without suitable preparation and a compatible coating system.
- Residues from acrylic floor restoration products.
- Existing coatings that are incompatible with the new finish.
An important consideration is that ordinary surface cleaning may not remove every type of residue.
Basic Coatings advises checking the maintenance history and coating compatibility before choosing a recoating method.
A floor that appears suitable for another coat may still require additional preparation or a different refinishing approach.
3. Application Equipment and Coating Problems
Not all timber floor finish defects originate from contamination already present on the floor.
The coating materials and application equipment can also contribute.
Basic Coatings identifies several potential problems, including:
- Applicators that have not been cleaned properly.
- Incompatible solvents remaining in application tools.
- Excess water left in a washed applicator.
- Finishes stored outside recommended conditions.
- Expired coating products.
- Incorrect or excessive coating additives.
- Incompatible sealers or previous finish layers.
These factors can affect the way a finish flows, levels and forms a consistent protective film.
Using manufacturer-approved products, correctly prepared applicators and recommended application methods helps reduce these risks.
4. Trapped Air, Drying Conditions and Recoating Too Early
Application timing can also affect the final appearance.
If air or solvent bubbles become trapped in a wet coating and burst before the surface has levelled, small imperfections may remain.
Similar problems can occur when a new finish is applied over a sealer or previous coating that has not reached the required stage of drying or curing.
Temperature, application thickness and coating conditions can influence the process.
For this reason, contractors should follow the coating manufacturer's requirements for application conditions, drying intervals and recommended spread rates.
Why Applying Another Coat May Not Fix the Problem
When small craters appear, it can be tempting to apply another layer of polyurethane or another timber floor finish.
However, recoating without identifying the cause may leave the original problem unresolved.
If contamination remains on the surface, it may interfere with the next coat as well.
Similarly, if the existing coating is incompatible with the proposed finish, another application may introduce further appearance or adhesion problems.
Before recoating, a professional should determine whether the defect is limited to the upper coating layer or whether the underlying surface and existing finish system are affected.
The condition of the existing finish matters more than the appearance of the defect alone.
How Professionals Assess Timber Floor Finish Defects
A professional floor sanding contractor should examine the affected floor before recommending local repairs or further sanding.
The assessment generally considers several factors.
Identify the Defect
The first step is to determine whether the visible marks are craters, fisheyes, burst bubbles, debris or another finish problem.
Different defects can require different preparation and correction methods.
Review the Floor's Maintenance History
Previous cleaning products, polishes, oils and waxes may provide important clues.
This is particularly relevant when the floor has been maintained by different owners or contractors.
Check the Existing Finish
The contractor should assess whether the coating remains sound, whether the affected areas are isolated and whether there are signs of adhesion failure.
The type of existing finish and its compatibility with the proposed repair coating also need consideration.
Conduct a Suitable Test Area
Where recoating is being considered, a controlled test in an inconspicuous area can help determine whether the proposed cleaning, preparation and coating process is suitable.
This is particularly important where contamination or coating compatibility is uncertain.
When Is Local Correction Appropriate?
Not every crater or fisheye requires the entire timber floor to be sanded again.
Local correction may be appropriate when:
- The defects affect only a small, clearly defined area.
- The surrounding coating remains sound and properly bonded.
- The contamination source has been identified and removed.
- The affected coating can be prepared without damaging the timber.
- A compatible repair coating can be applied successfully.
- The repaired area can achieve an acceptable visual match.
Depending on the defect and the manufacturer's instructions, the repair may involve carefully scraping or sanding the affected finish, progressing through suitable abrasive grades and recoating.
However, local repairs can be more noticeable on some floors because of differences in sheen, coating thickness or the way light reflects from the surface.
For that reason, the smallest possible repair is not always the best visual solution. Sometimes recoating a complete board or a larger continuous section produces a more consistent appearance.
When Is Further Sanding Necessary?
Additional sanding may be the better option when defects extend beyond a small isolated area or the existing coating cannot provide a reliable foundation for another finish.
Situations that may require more extensive work include:
- Widespread craters or fisheyes across multiple floor sections.
- Persistent contamination that cannot be removed through suitable surface preparation.
- Repeated defects after properly conducted test recoating.
- Incompatible coating layers.
- Peeling, delamination or significant finish failure.
- Damage extending beneath the existing coating.
Basic Coatings notes that contaminated floors may sometimes need to be sanded back to raw wood before refinishing.
However, full sanding is not automatically appropriate for every floor.
The timber's construction, previous sanding history and available wear-layer thickness must also be considered, particularly with engineered timber flooring.
Where a floor cannot safely be sanded again, other corrective options, including replacement of affected boards, may need assessment.
How to Reduce the Risk of Craters and Fisheyes
Preventing finish defects begins before the final coating is applied.
Professional preparation should include:
- Checking the maintenance history: Identify previous cleaners, waxes, polishes, oils and coating treatments.
- Inspecting for contamination: Look for residues or problem areas that could affect coating performance.
- Confirming product compatibility: Ensure that primers, sealers and finishes are suitable for the existing floor and proposed system.
- Preparing equipment correctly: Use clean applicators and manufacturer-approved application methods.
- Following drying requirements: Observe the specified conditions and intervals between coats.
- Testing when necessary: Confirm that the preparation and finish system perform as expected before treating the full floor.
These steps help reduce the likelihood of finish defects and avoid unnecessary repeat work.
What Should Sydney Homeowners Do If Craters Appear?
If small craters become visible shortly after a timber floor has been refinished, avoid attempting to correct them with household polish, wax, strong cleaners or additional coating products.
These treatments may complicate the assessment or introduce further contamination.
Instead, document the affected areas, note when the marks became visible and contact the flooring contractor before making changes to the surface.
A professional can then inspect the finish, consider the products used and determine whether a local repair, broader recoat or additional sanding is warranted.
Professional Assessment Comes Before Recoating
Tiny craters in a fresh timber finish do not automatically mean that the entire floor needs to be sanded again.
The right solution depends on the source of the defect, the condition of the existing coating, the extent of contamination and whether the proposed repair system is compatible.
For homeowners considering floor sanding Sydney or corrective floor refinishing Sydney services, an informed assessment is the most effective starting point.
Identifying the underlying problem helps avoid repeated coating failures, unnecessary sanding and repairs that do not address the actual cause.
Arrange a professional timber floor assessment before recoating or resanding affected areas.
Sources and References
- Basic Coatings – Craters and Fisheyes: Double Trouble — Technical guidance on finish defects, contamination, application causes and corrective methods. Published 22 July 2021.
- Basic Coatings – Recoat or Resand? Assessing the Right Approach for Wood Floors — Guidance on evaluating finish integrity, maintenance history, coating compatibility and refinishing suitability. Published 15 October 2026.
ELYMENT PROPERTY SERVICES | SYDNEY & NSW
Before You Sand Again, Understand the Defect
Review timber floor condition, repair options, contractor coordination and renovation sequencing before committing to further refinishing works.
Request a Project ReviewRelevant next actions
Explore the ELYMENT service most closely connected to this article.