Herringbone Flooring Sydney: Is a Border Worth the Cost?
Weigh the extra cost of a straight border for herringbone flooring in Sydney. See how room layout, extra cuts and labour affect your flooring budget and finish.
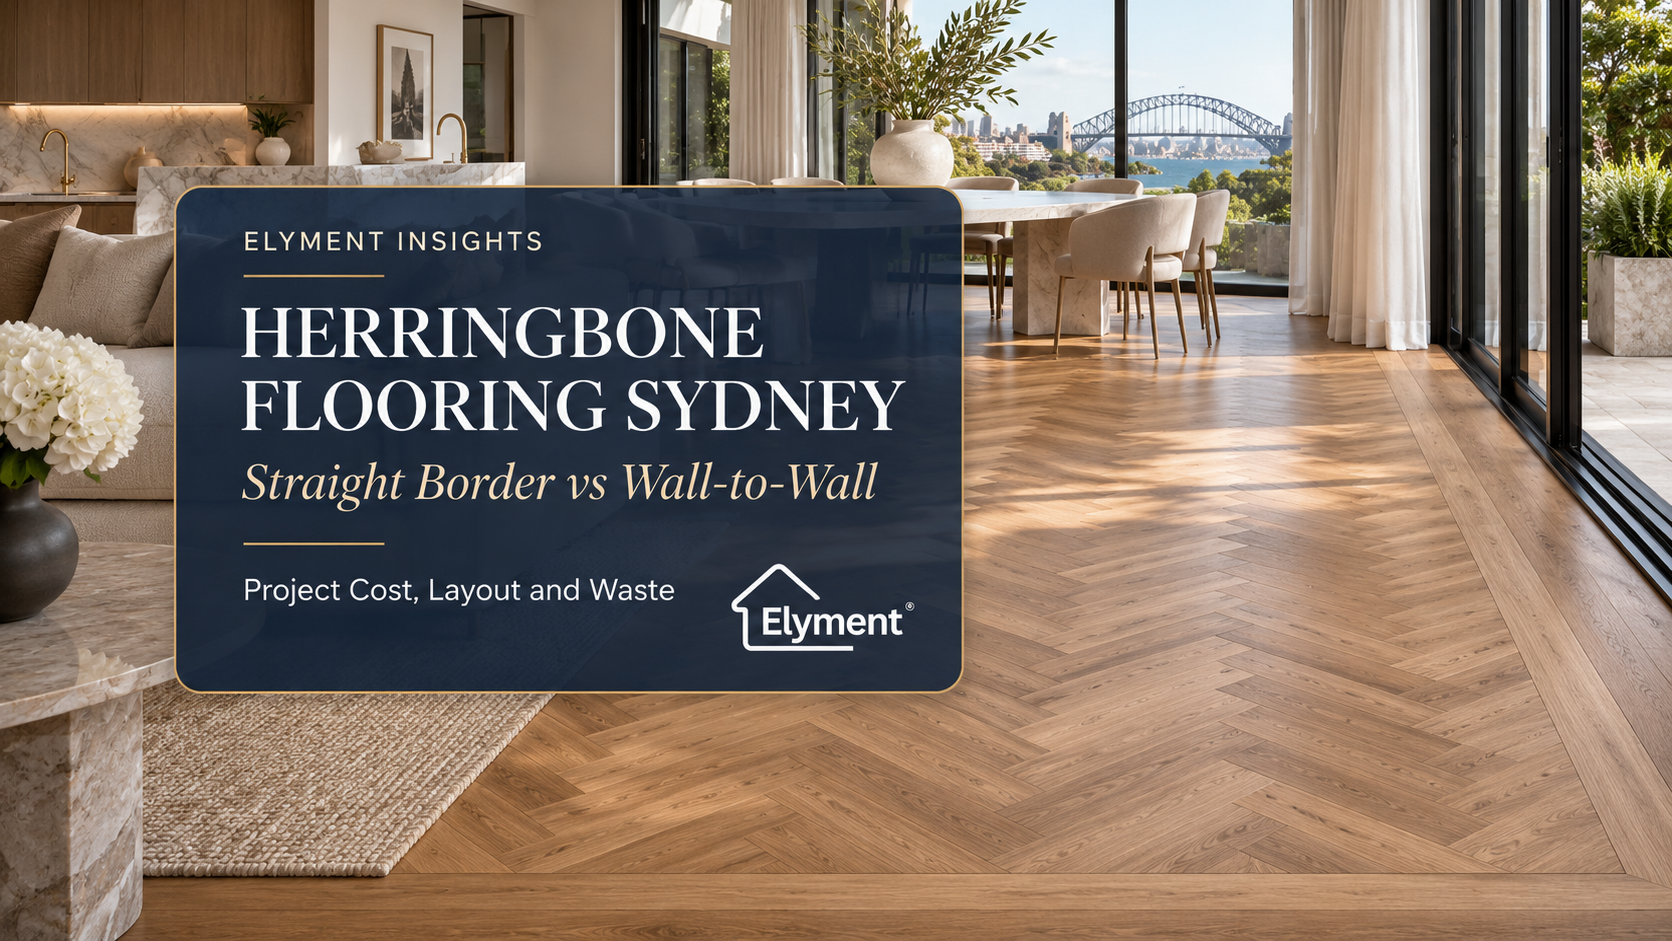
A straight perimeter border is worth pricing when a room has uneven walls, multiple openings or visible thresholds where a clean frame can improve the finish. However, it adds material, cutting and another installation junction, so it is not automatically cheaper than wall-to-wall herringbone. In Sydney, the better quotation is based on measured set-out, doorway details and a realistic material allowance.
ELYMENT Insights | Flooring & Renovation Operations | Sydney, NSW | 16 November 2026
The Border Is a Design Detail That Changes the Installation Scope
Herringbone flooring is often specified through a sample board, product selection or interior design schedule. The perimeter detail can receive less attention until the installer measures the actual room.
That is where two apparently similar flooring quotations can start to diverge.
A wall-to-wall herringbone installation carries the pattern towards the skirting, with individual boards cut to suit the room perimeter. A bordered installation creates a defined outer frame around the main herringbone field, usually using one or more straight rows of timber.
The difference is not simply visual. It changes the amount of material required, where cuts occur, how the pattern is centred and how the floor meets doorways and adjoining spaces.
For Sydney renovation projects, these details matter particularly in older terraces, irregular apartment layouts and properties where several rooms connect through narrow openings.
Wall-to-Wall Herringbone Versus a Straight Perimeter Border
Neither option is universally better. Each creates a different installation sequence and a different relationship between the pattern and the room's architecture.
Option A: Wall-to-wall herringbone
In this arrangement, the main herringbone pattern extends across the available floor area towards the room perimeter. The installer cuts the edge boards to fit against the surrounding walls, allowing for the required expansion clearance and finishing detail.
The main advantages include:
- A continuous pattern without a separate decorative frame.
- No additional border rows to purchase.
- A clean contemporary appearance when the room geometry supports it.
- Fewer installation stages at the junction between the main field and a border.
However, every perimeter edge requires careful cutting. Walls that are not square can produce inconsistent edge pieces, while narrow sections near corners and doorways may create offcuts that cannot be reused elsewhere.
Option B: Herringbone with a straight perimeter border
A perimeter border creates a separate frame around the patterned field. Depending on the design, it may consist of one row, multiple rows or a wider timber band.
Its advantages can include:
- A more defined architectural frame around the herringbone field.
- A deliberate visual transition between the patterned floor and walls.
- Greater flexibility when dealing with irregular room boundaries.
- A more controlled termination around selected openings and fixed features.
The trade-off is additional work. The installer must calculate the border dimensions, establish a consistent perimeter line, cut the main pattern to meet the frame and finish the border corners accurately.
A border can improve the appearance of the finished installation, but it should not be assumed to reduce material waste or labour.
What Actually Changes Between the Two Quotes?
Neither installation option has the same material and labour requirements. The following comparison identifies the main differences.
Cost considerations
- Material requirements
- Wall-to-wall pattern: Main herringbone flooring with perimeter cutting allowance.
- Straight perimeter border: Main flooring plus separate border material.
- Set-out
- Wall-to-wall pattern: Centre line and perimeter cuts must be balanced.
- Straight perimeter border: Main field and border dimensions must both be established.
- Cutting
- Wall-to-wall pattern: Angled cuts along the room perimeter.
- Straight perimeter border: Angled field cuts and additional border cuts.
- Doorways
- Wall-to-wall pattern: Pattern must terminate or continue cleanly through openings.
- Straight perimeter border: Border termination and adjoining floor details require coordination.
- Installation labour
- Wall-to-wall pattern: Primarily pattern installation and perimeter finishing.
- Straight perimeter border: Pattern installation, border construction and additional junction finishing.
- Waste exposure
- Wall-to-wall pattern: Depends on room shape and recoverable edge offcuts.
- Straight perimeter border: Depends on border width, corner details and recoverable offcuts.
The important distinction is that a border does not simply replace difficult perimeter cuts. It relocates some of the cutting work to the junction between the herringbone field and the border.
A quotation should therefore identify both the material difference and the additional installation operations rather than applying an arbitrary percentage to the overall floor area.
Why the Centre Line Can Change the Material Order
Herringbone installation begins with geometry, not with the first board.
The installer needs to establish the principal direction of the pattern, identify the room's main sightline and determine where the centre line should sit.
In a rectangular room, the geometric centre may provide a useful starting point. However, the most practical set-out can require adjustment to account for a doorway, adjoining hallway, fireplace, kitchen island or another architectural feature.
The objective is to avoid an installation where one visible wall receives generous cuts while the opposite side finishes with narrow timber strips.
For a bordered installation, the centre line also determines the dimensions of the patterned field inside the frame.
Before fixing the starting position, the installer should:
- Measure the room at multiple points rather than assuming opposite walls are parallel.
- Identify the primary viewing direction from the entrance or main living area.
- Establish a square reference line and dry-lay a sample section.
- Calculate the likely cut widths at opposing boundaries.
- Check whether the border width produces balanced proportions.
- Review adjoining openings before approving the final starting position.
Timbo's herringbone layout and waste guide explains the importance of setting out from a centre line, balancing opposing cuts and planning transitions before installation.
Doorways Are Where a Good Layout Can Become an Expensive One
A large rectangular living room may appear straightforward on a preliminary floor plan. The calculation changes when the installation reaches several doorways, corridors and adjoining rooms.
Each opening introduces a decision about where the pattern should finish, whether the border should continue and how the flooring should meet the next surface.
Three common doorway situations
1. The pattern continues into an adjoining room
Where two connected rooms share one continuous floor finish, the installer may need to maintain the same pattern direction and visual alignment across the opening.
This can affect the centre line of both spaces. A layout that looks balanced in the first room may produce awkward cuts in the second if the connection is not considered early.
2. The herringbone stops at a doorway
When the flooring ends at a threshold, the installer must decide whether the pattern finishes with a border, a defined timber edge or an appropriate transition detail.
The position of the door jamb, skirting and adjoining flooring height can all influence the finished appearance.
3. Multiple openings interrupt the perimeter
Hallways and older Sydney floor plans can contain several openings close together. These conditions create more individual cuts and can make it harder to reuse offcuts.
For a bordered floor, the additional question is whether the border continues through each opening or finishes at a deliberate termination point.
These details should be resolved on the layout drawing before the flooring is ordered. Leaving them until installation can create additional labour, material requirements and avoidable variations.
Waste Allowance Should Follow the Cutting Plan
Herringbone generally requires a higher material allowance than a straightforward parallel-board installation because the pattern produces angled perimeter cuts.
Timbo identifies approximately 10 to 15 per cent as a common herringbone waste rule of thumb, while making clear that the final allowance should be determined by the installer after measuring the actual rooms.
That distinction is important. A standard percentage is a preliminary estimating reference, not a guaranteed material requirement for every Sydney property.
Several factors can push the required allowance higher:
- Small rooms with relatively large perimeter lengths.
- Narrow hallways and multiple door openings.
- Angled walls, bay windows and irregular room shapes.
- Wider or longer herringbone boards with less reusable offcut material.
- Single or double perimeter borders.
- Changes in pattern direction between adjoining areas.
A border also introduces another material calculation. The installer needs to account for the length of the perimeter, the selected border width, corner joints and any special cuts around openings.
Offcuts should not automatically be counted as reusable stock. Their dimensions, board orientation, tongue-and-groove profile and visible finish determine whether they can be used elsewhere.
The final material schedule should distinguish between:
- Net installed floor area.
- Calculated cutting allowance.
- Border material requirements.
- Additional stock for unsuitable or damaged pieces.
- Spare material retained for future repairs.
This provides a more reliable basis for comparing the two options than simply multiplying the room area by a generic waste percentage.
What Should a Sydney Herringbone Installation Quote Include?
When comparing quotations, property owners and builders should look beyond the headline installation rate.
A useful quotation should explain exactly which layout is being priced and how the material allowance has been calculated.
Quotation items
- Measured floor area
- What should be identified: Individual room dimensions, corridors and connected spaces.
- Layout selection
- What should be identified: Wall-to-wall installation or a specified perimeter border.
- Set-out
- What should be identified: Centre line, pattern direction and starting position.
- Border specification
- What should be identified: Material, width, number of rows, corners and junction details.
- Doorway treatment
- What should be identified: Pattern continuation, termination and transition details.
- Material allowance
- What should be identified: Net coverage, estimated waste, additional cartons and spare stock.
- Subfloor preparation
- What should be identified: Removal, adhesive treatment, grinding, repairs and levelling where required.
- Installation system
- What should be identified: Product-specific adhesive, underlay and installation requirements.
- Finishing
- What should be identified: Skirting, expansion allowances and final perimeter details.
The installation method also needs to match the actual timber product. Engineered herringbone products can have different requirements for direct bonding, adhesive selection and substrate preparation.
Elyment's existing guide to herringbone timber flooring installation methods examines why product specifications should be checked before the installation scope is finalised.
Floor Preparation Still Determines Whether the Design Can Be Delivered
A carefully calculated border cannot compensate for an unsuitable substrate.
Before installation, the existing floor must be assessed for flatness, moisture, surface contamination and suitability for the selected flooring system.
In Sydney renovation projects, this can involve removing an existing floor covering, dealing with adhesive residue, grinding localised high points and correcting low areas before the new timber is installed.
Preparation should be specified separately from the decorative layout so that the owner can see which costs relate to the existing substrate and which relate to the chosen herringbone design.
For projects requiring additional preparation, Elyment's Sydney floor levelling service outlines how substrate condition, doorway heights and the intended floor finish influence the preparation scope.
Our guide on when concrete grinding can reduce floor levelling requirements also examines how localised high points can affect material consumption and finished floor height.
How to Compare Both Options Before Approving the Work
For a property owner or builder, the most useful approach is to request two installation scenarios against the same measured floor plan.
- Prepare the room measurements. Include every room, corridor, doorway and visible transition.
- Develop the wall-to-wall layout. Establish the pattern direction, starting point and perimeter cutting requirements.
- Develop the bordered layout. Specify the border width, material and how it meets each doorway.
- Calculate both material schedules. Show the net coverage, cutting allowance, border requirements and spare stock separately.
- Compare installation labour. Identify the additional set-out, border cutting and finishing operations.
- Confirm preparation requirements. Keep substrate remediation and the flooring installation scope clearly identified.
This makes the comparison commercially useful. Rather than asking whether a border costs more in general, the owner can see exactly what changes in their particular property.
Is a Straight Border Worth Paying For?
A straight perimeter border can be worthwhile when it creates a stronger architectural frame, provides a deliberate transition or helps manage an irregular room perimeter.
However, a wall-to-wall installation may be the more economical choice where the room has simple geometry, limited openings and a suitable perimeter finish.
The decision should be based on three things:
- How the completed pattern will look from the main viewing positions.
- How much additional cutting, material and labour the border introduces.
- Whether the finished layout can be coordinated with the property's doorways and adjoining floors.
For Sydney property owners, the most reliable way to make that decision is to compare two measured layouts before materials are ordered.
Planning a Herringbone Flooring Project?
SYDNEY FLOORING & RENOVATION OPERATIONS
Send Elyment your floor plan to review wall-to-wall and straight-border options. We can help assess the installation scope, floor preparation requirements, material allowances and project coordination considerations.
Send Your Floor Plan for Review
The Practical Conclusion
The cost difference between wall-to-wall herringbone and a straight perimeter border is determined by more than the number of additional timber boards.
Centre-line positioning, room geometry, doorway cuts, border dimensions and recoverable offcuts all influence the final installation scope.
A border can produce a more deliberate architectural finish, but it also introduces another set of measurements, cuts and finishing details. Equally, a wall-to-wall pattern may avoid the border junction while creating more demanding perimeter cuts.
The best decision is the one supported by a measured layout and a transparent quotation. For builders, designers and property owners across Sydney and NSW, comparing both options before ordering materials can reduce uncertainty, avoid late changes and give the installation team a clearer delivery plan.
SYDNEY FLOORING & RENOVATION OPERATIONS
Get Your Herringbone Layout Reviewed
Send us your floor plan to compare wall-to-wall herringbone with a straight perimeter border. Review material allowances, doorway details and installation requirements before work begins.
Send Floor PlanRelevant next actions
Explore the ELYMENT service most closely connected to this article.