Vinyl Plank Repairs Sydney: Can One Damaged Plank Be Replaced?
Can one damaged vinyl plank be replaced in Sydney? Find out when spot repairs work, why matching a plank matters, and what may increase repair costs for owners.
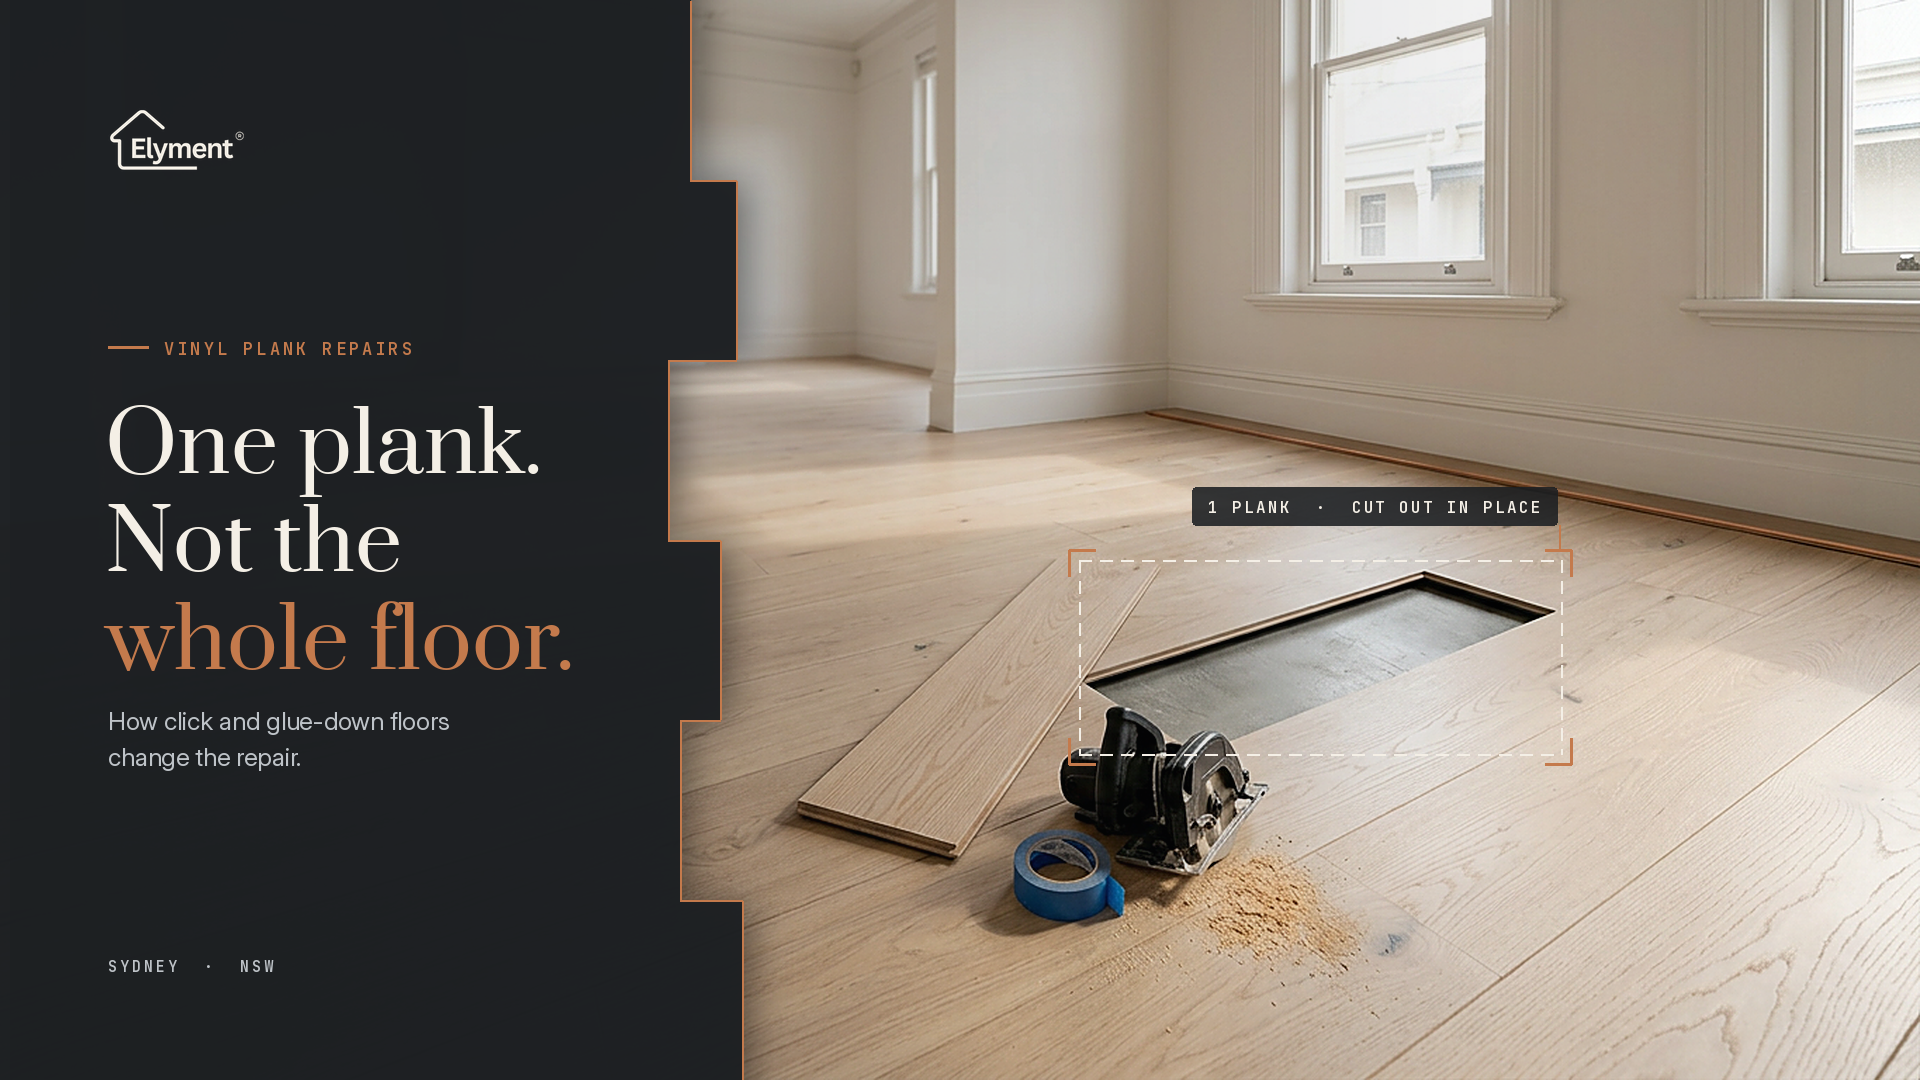
In most cases, yes. A single damaged vinyl plank can usually be cut out and replaced without lifting the whole floor. Click floors are opened at the plank and bonded back locally. Glue-down floors are cut free, the adhesive bed is checked, and a modified plank is bonded in. For Sydney owners, the bigger question is why the plank failed, because water, subfloor movement or older layers can turn a small repair into an investigation.
The Repair Most Owners Assume Is Impossible
A dropped cast-iron pan in a Surry Hills kitchen. A dragged fridge in a Parramatta rental. A chipped edge at a doorway in a Northern Beaches beach house. The damage is usually confined to one plank, yet the first assumption is often that the whole room must come up.
That assumption is outdated. Quick-Step's own guidance on replacing a damaged vinyl click plank opens by stating there is no need to lay an entirely new floor. Manufacturers of glue-down planks publish similar procedures. The repair is real and routine. What changes from one job to the next is the method, the access, the labour and what the opening reveals underneath.
Installation Method Decides the Job
Before anyone quotes a vinyl plank repair in Sydney, the first fact to establish is whether the floor is floating click, glue-down, or a click plank that was glued against the manufacturer's instructions. Each one changes the work.
How the damaged plank comes out
- Click (floating) vinyl: Cut out in sections, staying clear of neighbouring planks.
- Glue-down vinyl: Cut along its length, scored at the ends, then lifted from the adhesive, sometimes with heat.
What holds the new plank
- Click (floating) vinyl: Locking profile partly removed, joints bonded locally with cold weld compound.
- Glue-down vinyl: Adhesive bed, existing or renewed, plus a bonding glue on the joint.
Substrate work
- Click (floating) vinyl: Usually vacuum and patch the underlay.
- Glue-down vinyl: Old adhesive assessed and, where needed, removed and reapplied.
Hold-down and set time
- Click (floating) vinyl: Quick-Step specifies about 40 kg of weight for at least two hours.
- Glue-down vinyl: Rolled into place, with adhesive cure governed by the product.
Main labour driver
- Click (floating) vinyl: Precision cutting and access to the plank.
- Glue-down vinyl: Adhesive condition and substrate preparation.
How a Click Plank Comes Out Mid-Floor
The older approach to floating floors was to unclick rows from the nearest wall until the damaged plank was reached. That still works near a perimeter, but it means lifting skirting or scotia and disturbing undamaged planks. The Quick-Step method removes the plank in place instead:
- Let the replacement plank acclimatise to the room.
- Mark the damaged plank's outline with tape so neighbouring planks are not cut by mistake.
- Saw a cut along the plank's length, staying 10 cm from the ends, then make four cuts from the corners to that line.
- Lift out the sections, vacuum, and tape any damaged underlay.
- Check the new plank's colour against the floor, then saw off the locking grooves on the relevant edges.
- Apply a small amount of cold weld bonding compound to the edges of the adjoining planks. Quick-Step notes that regular glue is too thick.
- Set the new plank into the opening, click the long side, wipe off excess, and load it with about 40 kg for at least two hours.
The detail that matters operationally is that floating floors are not normally glued. Quick-Step's Alpha Vinyl installation instructions state that gluing the joints between planks is not allowed, with one exception: a plank replacement. The repair is a sanctioned, local exception, not a licence to glue the floor.
Why Glue-Down Replacement Is a Different Task
A glue-down plank cannot be unclicked. It has to be cut free of the adhesive bed. Tarkett's glue-down plank replacement instructions describe a sequence that is typical of the category, and they recommend a professional installer for it:
- The saw blade depth is set to the plank thickness so the cut does not score the substrate.
- The plank is cut along its centre, stopping short of the end joints, which are finished with a knife.
- Heat may be used to soften the adhesive as the plank is lifted.
- The adhesive is judged on condition. Clean adhesive that still shows trowel lines may be reused with that manufacturer's system. Contaminated adhesive, or a different brand, is removed and the substrate cleaned.
- The replacement plank has the bottom lip of its groove trimmed so it can drop into position, is test-fitted, bonded at the joint, then rolled.
That fourth point is where vinyl flooring repair cost starts to move. If the bed is sound, the job is mostly cutting and fitting. If the adhesive must come off and be reapplied, the job becomes substrate preparation in a small area, with cure time attached.
Rolling is not optional either, which is why Elyment has covered why glue-down vinyl floors need rolling as part of a sound installation.
Where the Labour Cost Actually Sits
The plank itself is rarely the expensive part. The cost of damaged vinyl plank replacement is driven by the conditions around it:
- Spare stock: Planks kept from the original installation simplify colour and profile matching. Without them, sourcing a compatible plank can take longer than the repair.
- Location: A plank in open floor is straightforward. One under a kitchen island toe-kick, against a built-in robe or at a doorway transition needs more care and more time.
- Furniture and access: Appliances, beds and shelving must be moved and the area protected before cutting starts.
- Adhesive condition: On glue-down floors, removal and reapplication adds preparation and waiting time.
- Set time: Weighting or curing means the area is out of use for a period, which matters in shops, rentals between tenants and busy kitchens.
- What the opening reveals: Moisture, a failed patch or an uneven substrate turns a repair into a floor preparation decision.
For owners comparing quotes, a useful test is whether the quote names the installation method and says what happens if the substrate is found to be wet or uneven. A quote that assumes nothing will be found is pricing the best case.
When One Plank Is a Symptom
Impact damage from a dropped object is genuinely local. Other patterns point beneath the surface, and replacing the plank without looking underneath can mean the new one fails the same way.
Chip, gouge or burn on one plank
- Likely cause: Impact or heat at the surface.
- Local replacement enough? Usually yes.
Swelling or lifting near a dishwasher, laundry or external door
- Likely cause: Water reaching the subfloor or joints.
- Local replacement enough? Only after the water source and substrate moisture are checked.
Joint peaking or separating across several planks
- Likely cause: Movement, a blocked expansion gap or a floating floor that has been pinned.
- Local replacement enough? Rarely. The cause is usually across the room.
Ridges or lines visible through the plank
- Likely cause: Subfloor imperfections telegraphing through.
- Local replacement enough? No, until the substrate is corrected.
Repeat cracking at the same spot
- Likely cause: A hollow or soft area underneath.
- Local replacement enough? No, until the substrate is investigated.
Manufacturers set tight tolerances for what sits underneath. Quick-Step's glue-down vinyl installation instructions call for unevenness above 0.2 mm over 20 cm, or 3 mm over 2 m, to be levelled out, and a cement screed moisture content below 2.5% CM.
These are installation requirements rather than repair rules, but they show how little it takes for a substrate problem to show through.
Elyment has examined how tiny subfloor lines show through vinyl plank flooring, and when a local dip is found, uneven floor repair or targeted floor levelling in Sydney may be the real fix.
The Older Building Check
Many Sydney homes and strata buildings predate 1990, and new vinyl planks are sometimes laid over, or adjacent to, earlier floor coverings.
The NSW Government's Asbestos in NSW guidance on vinyl floor tiles and coverings notes that asbestos-containing vinyl is likely to remain in many Australian homes built before 1990, and that it looks exactly the same as vinyl without asbestos.
For a repair, that matters if cutting or scraping would reach an older layer or its adhesive. If an opening exposes an older floor covering, work should pause until a licensed asbestos assessor has advised.
Elyment's article on signs old vinyl is hiding a bigger floor preparation problem covers the wider picture.
A Practical Sequence Before Booking a Repair
- Identify the installation. Check handover documents, the product name and whether it was floated or glued.
- Find spare planks. Look in garages, storage cages and builder handover boxes.
- Photograph the damage in context. Include nearby joints, wet areas and the room's edges.
- Note the pattern. One plank with impact damage is different from a cluster near a water source.
- Check for moisture sources. Appliance connections, shower recesses and external thresholds should be ruled out first.
- Ask what happens if the substrate fails inspection. The answer should cover moisture, levelling and any older layers.
Where a repair grows into a wider scope, the planning shifts to flooring installation and preparation as one sequence rather than a patch.
Is It One Plank, or Something Underneath?
Elyment reviews damaged vinyl floors across Sydney, identifies the installation method, and plans the repair or substrate work so the fix lasts.
The Bigger Picture
Replacing a single vinyl plank is a routine, manufacturer-supported repair on both click and glue-down floors.
The skill lies less in the plank and more in reading the floor: how it was installed, whether the adhesive bed is sound, and whether the damage is an accident or a warning.
Treat the opening as an inspection point, and a small repair stays small.
Sources and Further Reading
Manufacturer Guidance
- Quick-Step: How to Replace a Damaged Vinyl Plank
- Tarkett: NuGen Glue-Down Plank Replacement Instructions
- Quick-Step: Glue-Down Vinyl Installation Instructions
Government Guidance
Elyment Articles and Services
- Vinyl Plank Installation Sydney: Why Glue-Down Floors Need Rolling
- Vinyl Plank Telegraphing: Why Tiny Subfloor Lines Show Through New Flooring
- 7 Signs Your Old Vinyl Is Hiding a Bigger Floor Prep Problem
- Elyment: Uneven Floor Repair Sydney
- Elyment: Floor Levelling Sydney
- Elyment: Flooring Installation and Preparation
Is It One Plank, or Something Underneath?
Elyment reviews damaged vinyl floors across Sydney, identifies the installation method, and plans the repair or substrate work so the fix lasts.
Book a Floor ReviewRelevant next actions
Explore the ELYMENT service most closely connected to this article.