What 9 Flooring Details Do Designers Say Actually Make a Home Look Timeless?
Learn what 9 flooring details designers say make a home look timeless, from plank proportion and texture to thresholds, tones, lighting and prep in Sydney home.
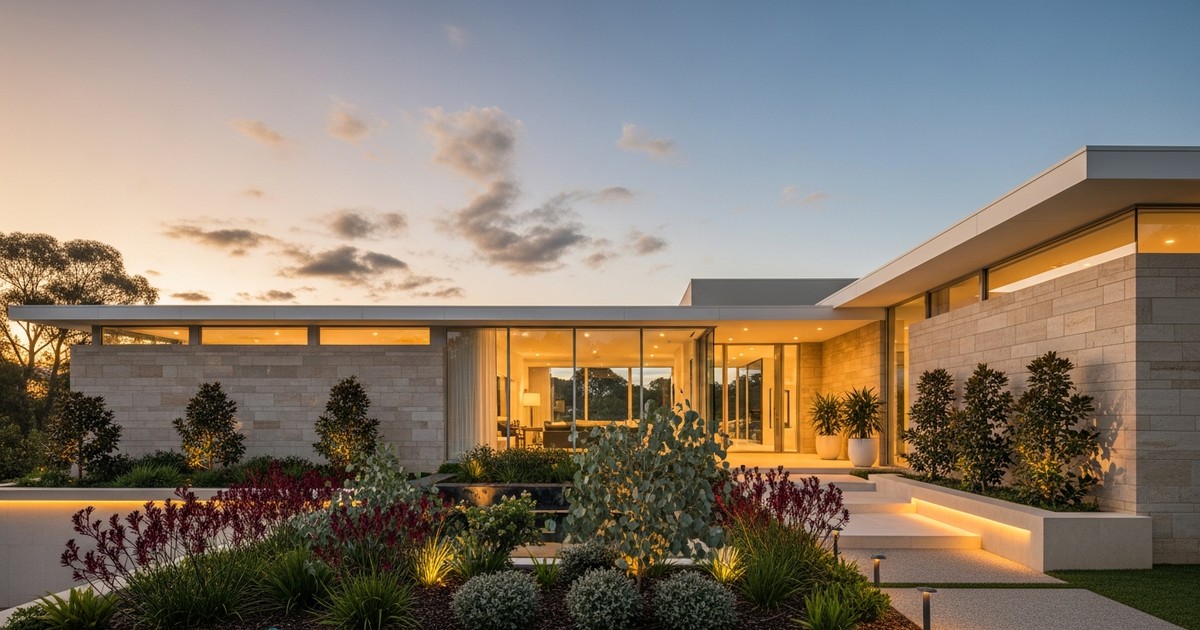
Timeless flooring is the result of structural precision, not surface trends. According to design professionals, the details that endure include correct subfloor flatness, proportional plank sizing, moisture-stable substrates, consistent joint spacing, and finish sheen matched to the room's natural light. These foundations matter more than colour or pattern, and they determine whether a floor looks current in five years or fifty.
What makes flooring look timeless rather than trend-driven?
In residential renovation, flooring occupies a unique position. It is simultaneously the largest visual surface in any room and the most physically abused. Walls can be repainted in a weekend. A kitchen can be refreshed with new hardware. But flooring sits at the intersection of structural substrate, material science, and daily wear, which means the decisions made at installation determine whether a floor looks relevant for decades or dates within a single design cycle.
The design industry is saturated with trend cycles. Grey-washed oak, herringbone patterns, and ultra-wide planks each had their cultural moment. What designers consistently return to, however, are the structural and technical details that outlast any aesthetic fashion. These are not decorative preferences. They are engineering and specification choices that protect both the visual integrity and the physical lifespan of the finished floor.
For Sydney homeowners, investors, and renovators, understanding these details is the difference between a floor that enhances property value over time and one that requires premature replacement.
What are the 9 flooring details designers consistently recommend?
The following nine details represent the consensus among interior designers, flooring specialists, and building professionals. Each one addresses a specific aspect of material selection, substrate condition, or installation method that directly influences the longevity and appearance of a finished floor.
- Plank proportion matched to room scale
Designers specify plank width based on room dimensions, not personal preference. In Sydney's open-plan living areas, which commonly exceed 40 square metres, planks below 130 millimetres create visual fragmentation. Wider formats, 190 millimetres or above, reduce the number of visible joints and allow the grain pattern to read as a continuous surface. In smaller rooms such as hallways or studies, a narrower plank can maintain proportion without overwhelming the space. The principle is straightforward: the floor should feel as though it belongs to the room, not as though it was imposed upon it.
- Subfloor flatness within Australian Standard tolerance
The invisible foundation of every quality floor is the substrate beneath it. Standards Australia specifies in AS 1884: Resilient Floor Coverings a tolerance of plus or minus 3 millimetres measured over a 3-metre straightedge. When substrates exceed this tolerance, finished floors develop lippage, hollow spots, and adhesive bond failure. Professional concrete grinding and self-levelling compound application bring substrates within specification before any finish floor is installed. This step is the single most common cause of premature flooring failure when skipped.
- Colour temperature over trend colour
Interior designers overwhelmingly recommend selecting flooring tones that reference the material's natural appearance. Warm neutrals, honey-toned oaks, and mid-depth walnuts have remained relevant across multiple design cycles spanning decades. Trend colours, including cool greys, whitewash finishes, and near-black stains, tend to date within three to five years. For Sydney homes, where natural light shifts significantly between north-facing and south-facing rooms, a warm-neutral tone adapts to both orientations without appearing flat or stark.
- Consistent joint spacing and staggered layout
The arrangement of planks or tiles across a floor is not arbitrary. Designers specify minimum stagger distances, typically 150 to 200 millimetres for timber and laminate products, to prevent aligned end-joints from creating visual “ladders” across the room. Joint width consistency matters equally: variable gaps between planks, even by one or two millimetres, read as installation errors rather than character. A disciplined layout pattern is the difference between a floor that looks considered and one that looks accidental.
- Flush transitions at thresholds and room junctions
The point where one flooring material meets another, or where the same material crosses a doorway, is a common failure point in design execution. Designers specify recessed transition strips or colour-matched profiles that sit flush with the finished floor surface. Visible aluminium trim, raised thresholds, or mismatched materials at junctions break the visual continuity of the floor and signal a lack of coordination between trades. In Sydney renovations, where timber flooring commonly meets tile in wet areas, transition detailing requires planning before the substrate stage.
- Moisture testing and substrate stabilisation before installation
Concrete slabs in Sydney homes frequently contain residual moisture from curing, plumbing, or sub-surface conditions. Installing a finish floor over a moisture-laden substrate leads to adhesive breakdown, cupping in timber, and delamination in engineered products. Relative humidity testing, conducted in accordance with AS 1884, determines whether the slab is within the manufacturer's specified range for the chosen flooring system. Where moisture levels exceed thresholds, vapour barriers or moisture-mitigating primers must be applied before installation proceeds. This is a non-negotiable step that protects both the floor and the investment behind it.
- Finish sheen selected for the room's natural light
Flooring sheen is one of the most overlooked decisions in specification. High-gloss finishes amplify natural light but reveal every footprint, scratch, and dust particle. Matte finishes absorb light and can make poorly lit rooms feel heavy. Designers in Sydney typically specify satin or semi-matte sheens, which reflect enough light to create depth without magnifying surface imperfections. For north-facing living rooms with strong afternoon light, a lower sheen prevents glare. For darker south-facing rooms, a slightly higher sheen can compensate for reduced natural illumination.
- Skirting and perimeter edge detailing
The junction between the floor and the wall is a design signature. Traditional quad or scotia profiles are functional but visually heavy. Modern installations favour shadow-line skirting, where a recessed gap between the floor edge and the skirting board creates a floating visual effect, or flush-set skirting, where the board sits directly on the finished floor with no visible gap. The choice of perimeter detail should align with the property's architectural language. In Sydney's mix of Victorian terraces, post-war brick homes, and contemporary apartments, a single profile standard does not suit every context.
- Underlay specification for acoustic and thermal performance
Underlay is the layer between the structural substrate and the finish floor, and its selection has consequences beyond comfort. In NSW strata properties, acoustic underlay must meet minimum Impact Insulation Class (IIC) and Sound Transmission Class (STC) ratings to comply with building certification requirements. For ground-floor installations over concrete, a vapour-rated underlay provides both moisture protection and thermal insulation. In freestanding homes, underlay selection affects foot-feel, sound absorption, and the long-term stability of the flooring system. Designers treat underlay as a performance specification, not a default product.
How does subfloor preparation affect the longevity of flooring in Sydney homes?
In Sydney's residential renovation market, subfloor preparation is the most frequently compressed or omitted scope item. The pressure to reduce project timelines and budgets means that many installations proceed over substrates that have not been assessed, ground, or levelled to specification.
The consequences are measurable. According to the Australian Building Codes Board, flooring systems that fail to meet substrate flatness tolerances account for a disproportionate share of building defect claims in residential strata. In practical terms, an uneven substrate causes tile lippage, adhesive bond failure in vinyl and engineered timber, and hollow spots in floating floors that accelerate wear at click-locks and joints.
Professional subfloor preparation for a Sydney property typically includes:
- Laser-assisted assessment of existing substrate levels
- Concrete grinding to remove high spots, old adhesive, and surface contaminants
- Self-levelling compound application to achieve flatness within plus or minus 3 millimetres over 3 metres
- Moisture testing using relative humidity probes
- Magnesite removal where legacy materials are present
- Adhesive removal with dust-controlled extraction methods
For properties built before 1990, particularly those in Sydney's Inner West, Eastern Suburbs, and Lower North Shore, magnesite flooring removal is a common requirement. Magnesite, a magnesium oxychloride compound used as a levelling product in mid-century construction, is hygroscopic and can cause concrete spalling when exposed to sustained moisture. Its removal requires controlled demolition, dust extraction, and substrate assessment before any new floor can be installed.
Elyment's floor levelling and concrete grinding service is scoped specifically for this stage of renovation, with laser-checked levels to plus or minus 3 millimetres over 3 metres as the standard deliverable. Site assessments begin from $65 per square metre across Sydney metro and Greater NSW.
Why is substrate compliance important for NSW flooring projects?
Flooring in NSW is governed by a layered compliance framework that most property owners do not encounter until a defect arises. Understanding this framework before a project begins is significantly less expensive than addressing it after installation.
The National Construction Code, administered by the Australian Building Codes Board, sets performance requirements for flooring systems under Volume 2 for residential buildings. Within this framework, AS 1884 specifies substrate preparation requirements for resilient floor coverings, while AS 3958.1 addresses ceramic tiling substrates and adhesive systems.
For strata properties, additional obligations apply. The Strata Schemes Management Act 2015 (NSW) requires that renovations affecting common property, including flooring in apartments that may impact acoustic separation between lots, obtain prior approval from the owners' corporation. Acoustic underlay must meet minimum performance ratings to preserve the building's compliance with its original construction certificate.
SafeWork NSW imposes workplace health and safety obligations on flooring contractors, including requirements for dust control during concrete grinding, safe handling of adhesive chemicals, and asbestos assessment where legacy materials are present in pre-1990 buildings.
These overlapping requirements mean that flooring installation is not simply a material selection exercise. It is a compliance-sensitive process that intersects building codes, strata legislation, workplace safety, and material specifications.
What does professional flooring preparation and installation cost in Sydney?
Flooring costs in Sydney vary by substrate condition, material selection, and project complexity. The details below outline typical market ranges for the key stages of preparation and installation as of 2025.
Substrate assessment and moisture testing
- Typical Sydney range: $200 to $500 per property
- Notes: Includes RH probe testing and flatness survey
Concrete grinding
- Typical Sydney range: $30 to $65 per square metre
- Notes: Varies by adhesive removal and surface condition
Self-levelling compound
- Typical Sydney range: $40 to $80 per square metre
- Notes: Dependent on depth required and substrate condition
Magnesite removal
- Typical Sydney range: $50 to $90 per square metre
- Notes: Includes controlled demolition and disposal
Adhesive and tile removal
- Typical Sydney range: $40 to $75 per square metre
- Notes: Includes disposal and surface preparation
Timber flooring supply and install
- Typical Sydney range: $80 to $180 per square metre
- Notes: Engineered timber; solid timber from $120
Acoustic underlay supply and install
- Typical Sydney range: $20 to $45 per square metre
- Notes: Strata-compliant products at the higher end
These ranges reflect standard residential projects in the Sydney metropolitan area. Properties with significant substrate damage, complex access conditions, or heritage overlays may fall outside these parameters. A site assessment remains the most reliable method of establishing project-specific costs.
What are the risks of skipping professional flooring preparation?
Cutting corners on flooring preparation produces a predictable set of failures, most of which are more expensive to remediate than the original preparation would have been.
- Adhesive failure: Installing over a damp or contaminated substrate causes the adhesive bond to break down within months, leading to lifting, tenting, and complete floor replacement
- Tile lippage: Uneven substrates create height differences between adjacent tiles, which is a compliance issue under AS 3958.1 and a trip hazard in residential settings
- Cupping and warping: Timber and engineered boards installed over moisture-laden concrete absorb uneven moisture, causing dimensional movement and permanent distortion
- Click-lock failure: Floating floors over uneven substrates develop stress fractures at the click-lock joints, shortening the floor's service life by years
- Acoustic non-compliance: In strata properties, installing flooring without approved acoustic underlay can result in breach notices, forced remediation, and disputes with neighbouring lot owners
- Voided manufacturer warranties: Most flooring manufacturers specify substrate preparation requirements in their installation guidelines. Non-compliant substrates void product warranties
The cost of post-installation rectification typically exceeds the cost of proper preparation by a factor of two to four, once demolition, disposal, and reinstallation are included.
Why choose Elyment Property Services for flooring projects in NSW?
Elyment is a property services company that operates across three integrated pillars: physical operations, professional services, and technology systems. In the flooring and renovation space, this means Elyment manages the full chain from substrate assessment and preparation through to finish-floor installation, with in-house capability for concrete grinding, floor levelling, moisture testing, magnesite removal, adhesive removal, and substrate remediation.
Key differentiators for Sydney renovation projects include:
- Laser-checked flatness: All substrates are assessed and delivered to plus or minus 3 millimetres over 3 metres, in accordance with AS 1884
- Single coordination lead: Substrate prep, moisture management, and finish-floor installation are sequenced under one delivery team, reducing handoff errors between trades
- Compliance documentation: Job packs include moisture test results, flatness surveys, and photographic evidence of substrate condition before installation begins
- End-to-end renovation scope: From legacy flooring removal and disposal through to final supply and install, Elyment coordinates the complete sequence
- NSW-wide delivery: Projects are managed across Sydney metro and Greater NSW with consistent reporting standards
Elyment's approach to flooring begins at the substrate, not the showroom. For property owners, investors, and renovators who understand that the longevity of a floor is determined before the first board is laid, this foundation-first methodology protects both the aesthetic investment and the structural integrity of the finished space.
Ready to start your flooring project with a substrate-first approach?
Request Your Flooring Assessment
Sources and references
Australian Building Codes Board, National Construction Code, Volume 2
Standards Australia, AS 1884: Floor Coverings: Resilient
Standards Australia, AS 3958.1: Guide to the Installation of Ceramic Tiles
NSW Legislation, Strata Schemes Management Act 2015
SafeWork NSW, Workplace Health and Safety Standards for Construction
Design Institute of Australia, Interior Design Practice Guidelines
CSIRO, Concrete Moisture and Flooring Performance Research
Ready to start your flooring project with a substrate-first approach?
Book Flooring AssessmentRelevant next actions
Explore the ELYMENT service most closely connected to this article.