A proper floor renovation starts with a clean slate. Discover the controlled demolition techniques for removing old tiles and the tough mortar bed (screed) without wrecking your slab. This is how the pros in Australia get a perfect finish.
By the Elyment Group | Follow us on X: @ElymentGroup
The Aussie Reno Challenge: Tearing Up a Tile on Screed Floor
G’day! Planning a floor revamp in your home or commercial space? If your current flooring is a tiled area laid on an old, thick mortar bed—what we call a screed in the trade—you’ve got a tougher job than just peeling up some vinyl. The traditional method of tile removal often involves brute force, which can lead to cracks, structural damage to the concrete slab below, and a massive clean-up bill. It’s simply not up to scratch for a high-end renovation.
The real question for any successful flooring project is: How do you get that stubborn mortar bed off your concrete floor without causing a drama? The secret lies in controlled demolition—a precise, strategic approach to floor preparation.
What is ‘Controlled Demolition’ in Flooring?
Forget the sledgehammer and the wild swings. Controlled demolition is a professional, methodical process aimed at isolating and removing the tiled surface and its mortar bed with minimal impact on the underlying structure. This is especially critical for commercial spaces or apartments where vibration and noise are a major factor.
Screed Bed vs. Thin-Set Adhesive: The Key Difference
Why is this job so tricky in Australia?
- Screed (Mortar Bed): This is a thick layer of sand and cement (often a 4:1 ratio, or cement bedding) that was used to create a fall to a drain or level the subfloor before tiling. It can be 10mm to 50mm thick and is rock hard.
- Thin-Set: A modern, polymer-modified adhesive that is much thinner and easier to remove.
Removing the old, thick screed is where most contractors muck up. You need specialised gear and know-how to break that bond cleanly.
Professional Techniques for Safe Mortar Bed Removal
For a perfect, ready-to-re-tile floor base, the experts follow a clear, three-stage process:
Stage 1: Precision Tile Separation
The first job is to get the tiles off the screed. While this can sometimes be the easiest part, the main goal is to minimise damage to the screed, as this helps with the next stage.
- Grout Cutting: Use an oscillating multi-tool or a dedicated grout saw to cut the grout lines. This isolates each tile and reduces chipping.
- Pry and Lift: For very old installations, a wide chisel and hammer may be used to pry up the tiles.
- Safety First: Always use proper PPE—dust masks, safety goggles, and heavy-duty gloves. The dust from old tile and mortar can be a real health hazard.
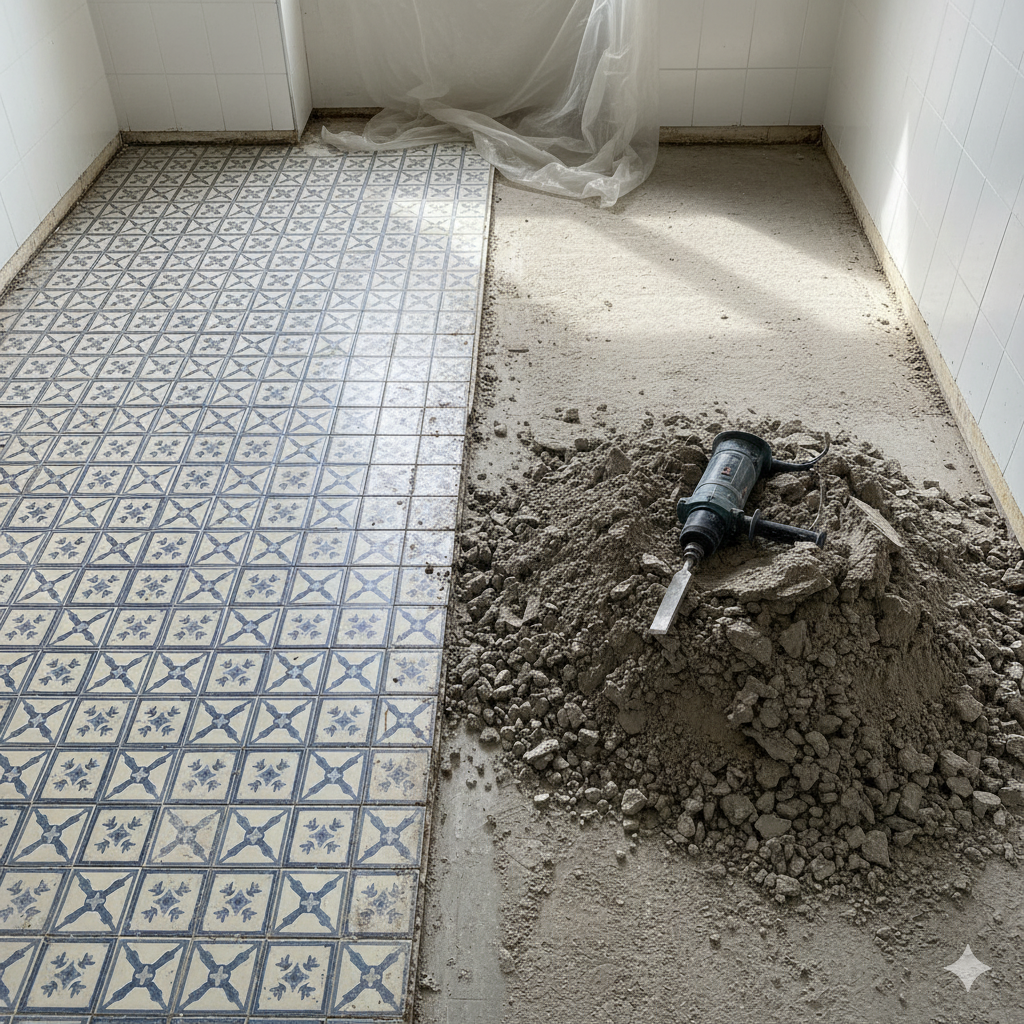
Stage 2: The Controlled Release of the Mortar Bed
This is the business end of the job. The aim is to shatter the bond between the screed and the concrete slab without damaging the slab itself.
- Rotary Hammer with Chisel Bit: Not just any jackhammer! A smaller, high-frequency rotary hammer is used with a wide, flat chisel bit. The pressure and angle are controlled to create fracture points in the screed layer.
- Floor Scrapers: For large commercial areas, specialised power floor scrapers are employed. These machines slide a blade under the screed layer, using vibration and sheer force for a fast, clean lift. This is the top choice for efficient large-scale tile demolition.
- Sectional Removal: Work in small, controlled sections. By removing the mortar in manageable chunks, the energy of the removal is contained, protecting the underlying concrete.
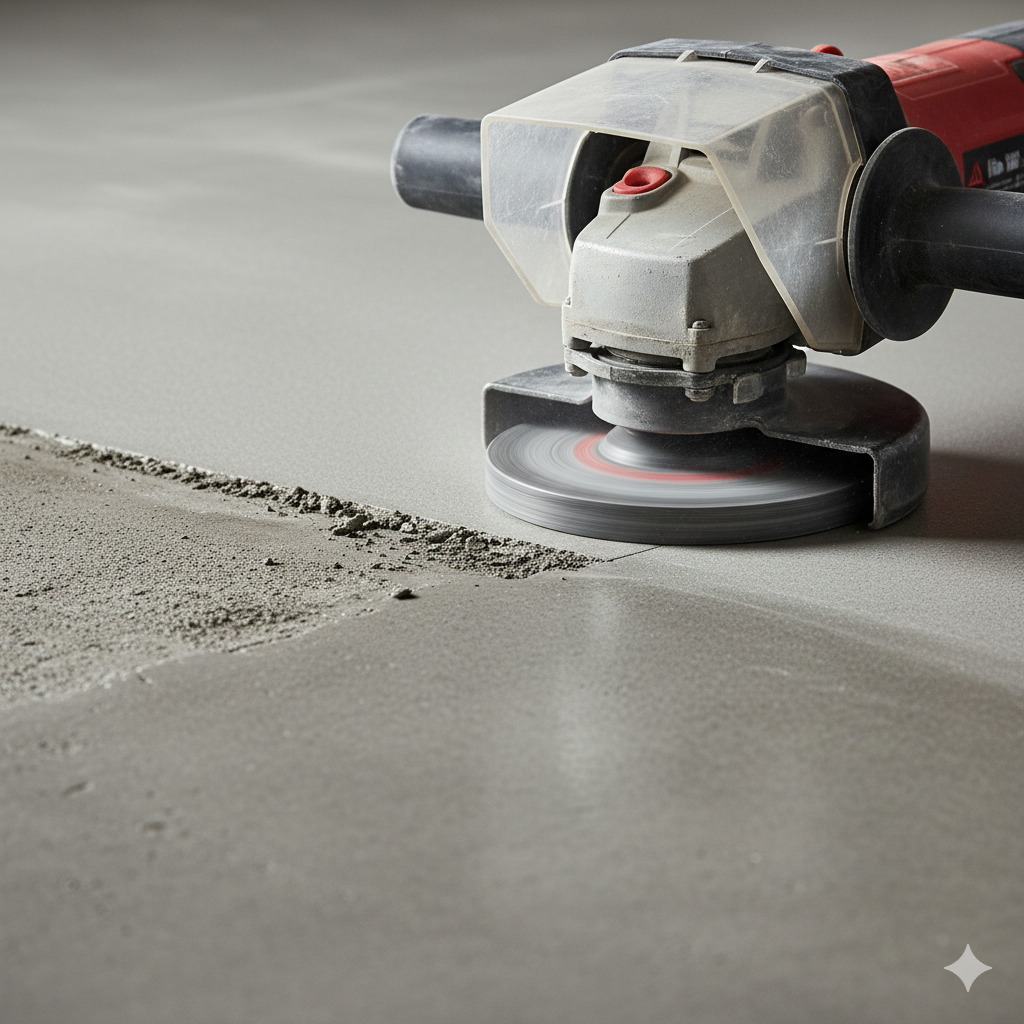
Stage 3: Grinding and Preparation (The Finish)
Once the bulk of the screed is gone, you’re left with residual thin-set or a rough surface. This final stage is crucial for a professional finish, especially if you’re laying down new tiles, micro-cement, or polished concrete.
We use diamond-cup grinding wheels attached to powerful, dust-extracted grinders. This process:
- Removes all residual adhesive and mortar.
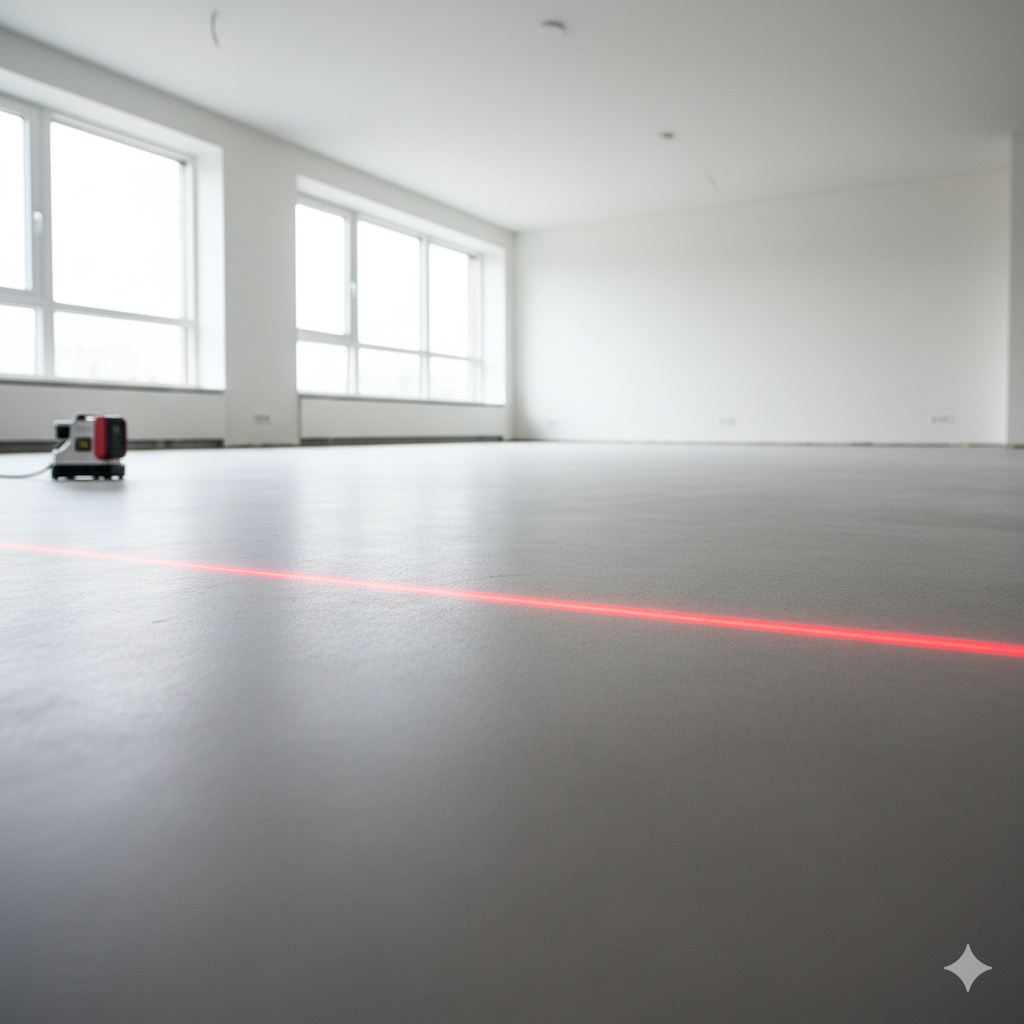
- Leaves the concrete slab perfectly smooth and level.
- Creates a ‘keyed’ profile for maximum adhesion of the new flooring material.
This attention to detail ensures your new floor is built on a flawless foundation, avoiding costly future failures.
Key Takeaways for Your Flooring Project
- Tile on Screed is tough, requiring more than standard floor preparation.
- Controlled Demolition is the professional approach to safely remove mortar bed without damaging the slab.
- Key tools include a controlled rotary hammer and large power floor scrapers for efficiency.
- The final step is diamond-cup grinding to ensure a perfectly smooth and level subfloor for the next installation.
Ready for a Flawless Foundation?
Don’t risk a DIY demolition that could damage your subfloor. If you’re tackling a tough tile or screed removal project in a residential, commercial, or industrial setting, chat to the experts.
Source Idea: Information on screed and tile removal best practices from industry guides.