
Self-leveling compound is a game-changer for creating smooth, level floors, but it’s not without its challenges. Issues like cracks, bubbles, and uneven finishes can derail your flooring project if not addressed properly. Whether you’re a DIY enthusiast or a professional contractor, understanding how to troubleshoot these common problems is essential for achieving a flawless result. In this guide, we’ll break down the causes of these issues, offer practical solutions, and share expert tips to ensure your next self-leveling project is a success. Follow along with @ElymentGroup or visit elyment.com.au for more flooring insights.
Why Self-Leveling Compound Fails
Self-leveling compound is designed to flow and settle into a smooth, flat surface, but mistakes during preparation, mixing, or application can lead to imperfections. Here are the main culprits behind cracks, bubbles, and uneven finishes:
- Poor Surface Preparation: Dust, grease, or debris on the substrate can prevent proper adhesion, leading to cracks or delamination.
- Incorrect Mixing Ratios: Too much or too little water can weaken the compound, causing bubbles or an uneven finish.
- Environmental Factors: Temperature fluctuations or excessive airflow can disrupt curing, resulting in cracks or surface imperfections.
- Improper Application: Rushing the pour or overworking the compound can trap air or create uneven surfaces.
By addressing these factors, you can avoid common pitfalls and achieve a professional-grade finish.
Common Issues and How to Fix Them
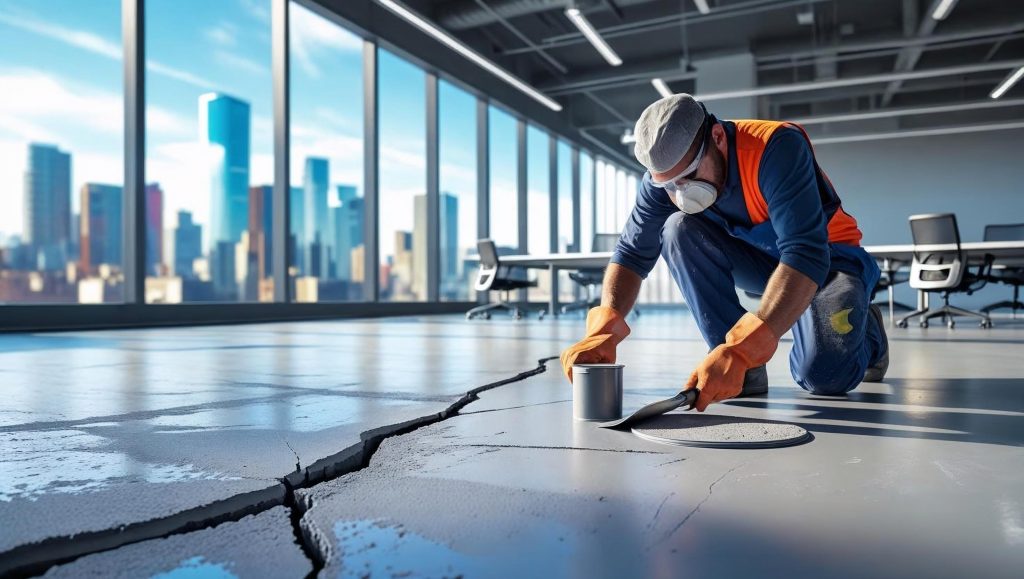
1. Cracks in Self-Leveling Compound
Cracks are a common issue, often caused by poor adhesion, rapid drying, or underlying substrate movement. Here’s how to troubleshoot and fix them:
- Check Surface Preparation: Ensure the substrate is clean, dry, and free of contaminants. Use a high-quality primer to enhance adhesion. Sand or grind the surface if necessary to improve bonding.
- Use Fiber-Enhanced Compounds: These add durability and reduce shrinkage, minimising the risk of cracks.
- Control Curing Conditions: Apply a curing agent to slow drying and maintain stable room temperature to prevent rapid moisture loss.
- Fix Existing Cracks: For minor cracks, sand down the area and apply a thin layer of fresh compound. For severe cracks, remove the affected area with a chisel or hammer, re-prime, and re-pour.
Pro Tip: Avoid pouring self-leveling compound over existing cracks or expansion joints in the substrate, as these will likely cause new cracks.
2. Bubbles and Pinholes
Bubbles and pinholes occur when air gets trapped in the mix or when the substrate releases gases during curing. Here’s how to prevent and fix them:
- Prime the Surface: A penetrating primer (acrylic or epoxy-based) prevents outgassing from porous substrates like concrete.
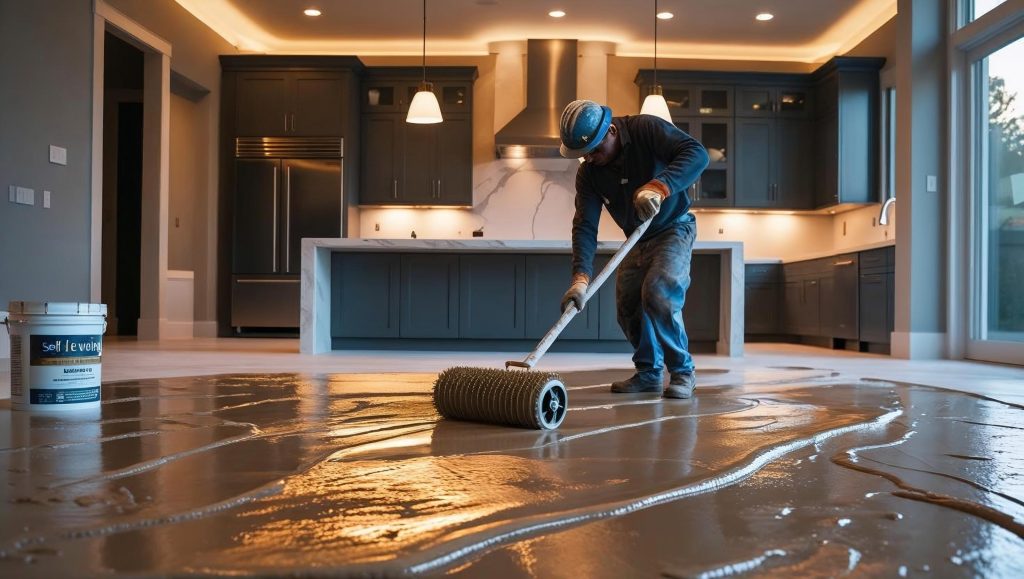
- Mix Properly: Use a low-speed mixer (under 300 rpm) to avoid introducing air. Let the mix rest for 2-3 minutes before pouring to allow trapped air to escape.
- Use a Spiked Roller: After pouring, roll a spiked roller over the surface to release air bubbles. Work quickly within the compound’s 15-20 minute working time.
- Fix Bubbles: For minor bubbles, lightly mist the surface with water and smooth with a clean trowel. For widespread issues, sand the surface, re-prime, and apply a new layer.
Pro Tip: Avoid pouring too quickly, as this can trap air and increase bubbling. Pour slowly from one corner and let the compound flow naturally.
3. Uneven or Wavy Finish
An uneven finish can result from improper mixing, rushed application, or external factors like airflow. Here’s how to achieve a smooth surface:
- Measure Water Precisely: Follow the manufacturer’s water-to-powder ratio exactly. Too much water makes the mix runny, while too little prevents proper flow.
- Spread Evenly: Use a gauge rake to distribute the compound uniformly. Avoid excessive troweling, which can cause inconsistencies.
- Control the Environment: Close doors and windows to limit airflow and maintain a consistent temperature (ideally 15-25°C).
- Fix Uneven Areas: Sand down high spots with an orbital sander. For low spots, apply an additional thin layer of compound after priming.
Pro Tip: Test the substrate’s moisture level with a moisture meter before pouring to prevent issues caused by excess moisture.

Best Practices for a Flawless Finish
To prevent issues from the start, follow these expert tips for using self-leveling compound:
- Read Manufacturer Instructions: Every product is different. Follow mixing, application, and curing guidelines to the letter.
- Prepare Thoroughly: Clean, repair, and prime the substrate to ensure strong adhesion and a smooth finish.
- Work in Small Batches: Mix only what you can pour and spread within 20 minutes to avoid drying issues.
- Use the Right Tools: Invest in a gauge rake, spiked roller, and spiked shoes for even application and bubble removal.
- Consult a Professional: For large or complex projects, hire a flooring expert to ensure a durable, high-quality result. Contact @ElymentGroup for professional flooring services.
Key Takeaways
- Cracks: Caused by poor adhesion or rapid drying. Fix with proper priming, fiber-enhanced compounds, and controlled curing.
- Bubbles: Result from trapped air or outgassing. Prevent with low-speed mixing, priming, and spiked rollers.
- Uneven Finish: Stems from incorrect mixing or application. Use precise measurements and even spreading techniques.
- Prevention: Thorough preparation, proper tools, and adherence to manufacturer guidelines are key to success.