
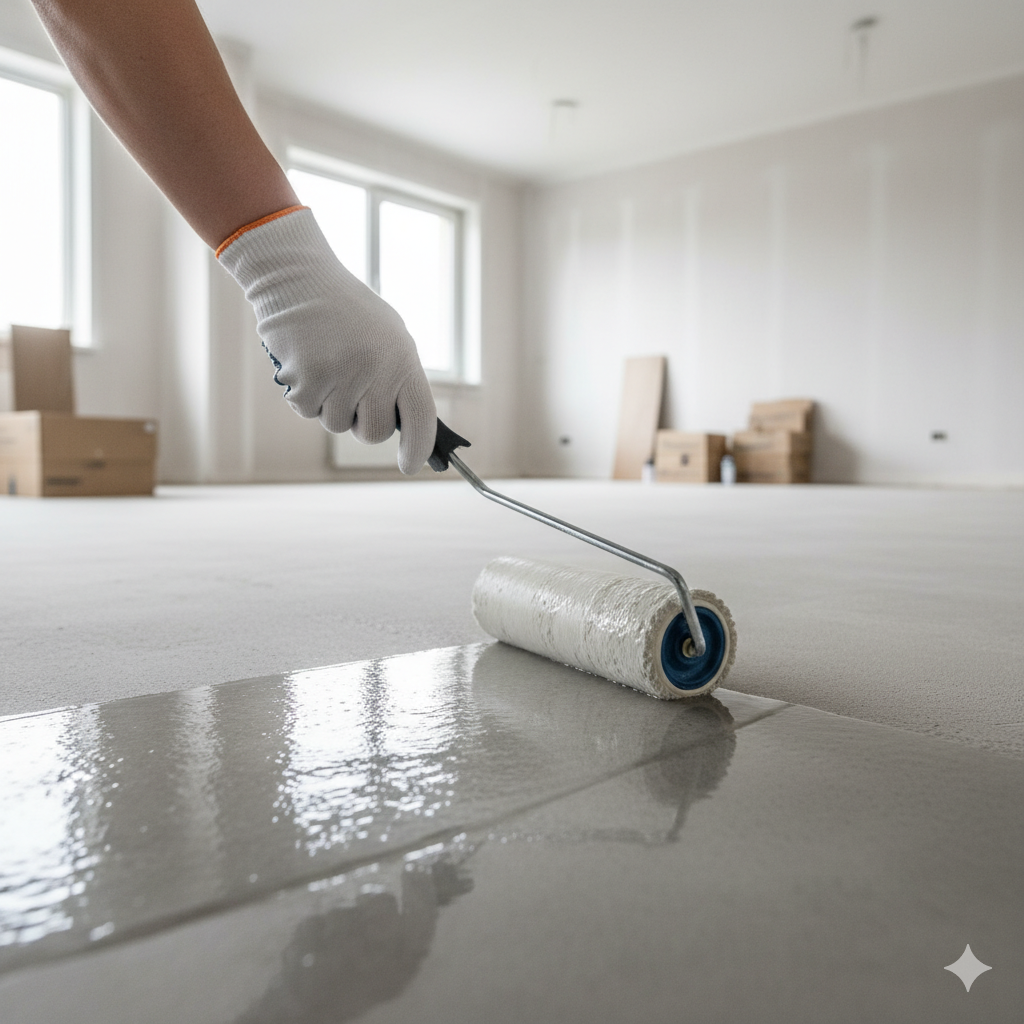
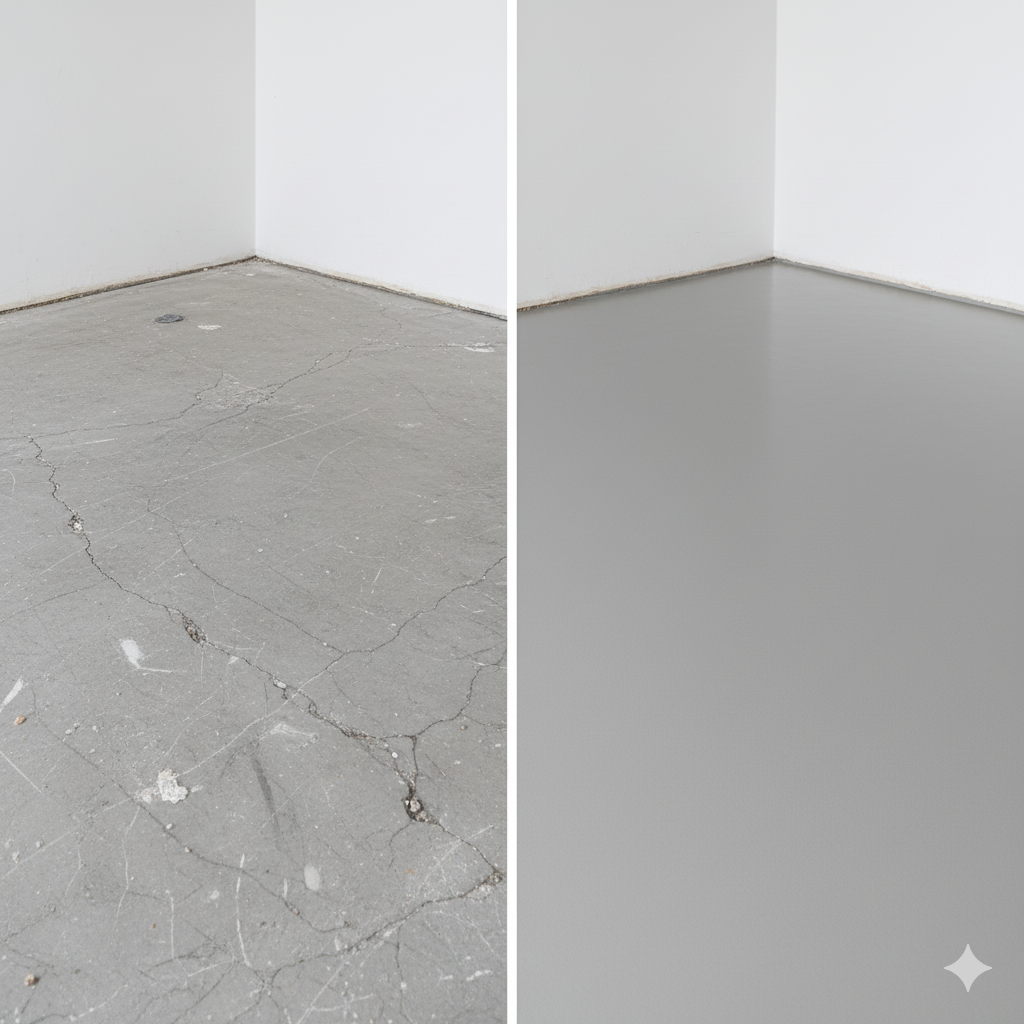
You’ve done everything right. You prepped the room, mixed the self-leveling compound, and poured it with the precision of a master chef. You envisioned a perfectly smooth, level subfloor, the flawless foundation for your new timber or tile flooring. But then, disaster strikes. As it dries, you spot them: fine, spiderweb-like cracks, or worse, larger, more ominous fissures.
That sinking feeling is something many ambitious Sydney DIYers know all too well. A cracked self-leveling compound can feel like a major setback, but don’t chuck in the towel just yet. Most of the time, these cracks are preventable and, in many cases, fixable. At Elyment Group, we’ve seen it all, from minor mishaps in a Rose Bay apartment to major subfloor issues in a new build in the Hills District.
This guide will walk you through the common culprits behind a cracked compound and what you, the savvy Sydney homeowner, can do about it.
The Core Reasons Your Self-Leveler Is Cracking
Think of self-leveling compound as a sensitive, high-performance product. It needs the right conditions to perform perfectly. When it cracks, it’s usually signalling that one of these core requirements wasn’t met.
1. Poor Subfloor Preparation: The Cardinal Sin
This is the number one cause, bar none. A successful pour starts with a pristine subfloor. Any contaminants will interfere with the compound’s ability to bond and cure correctly.
- Dust and Debris: Even a fine layer of dust can act as a barrier, preventing the compound from adhering to the concrete slab.
- Oils, Grease, or Sealants: These create a non-porous surface that the leveler can’t grip onto, leading to delamination and cracking.
- Lack of Primer: Primer is non-negotiable. It seals the porous concrete, preventing it from sucking water out of the self-leveling mix too quickly. It also acts as a bonding agent. In our humid Sydney climate, using the right primer is crucial.
2. Incorrect Water-to-Powder Ratio: A Tricky Brew
While it might be tempting to add a bit of extra water to make the compound flow better, this is a recipe for disaster. Too much water weakens the final compressive strength of the cured product, making it brittle and prone to shrinkage cracks.
Pro Tip: Always follow the manufacturer’s instructions to the letter. Use a measuring jug for water and a separate bucket for mixing to ensure precision.
3. Environmental Havoc: Drying Too Fast
Self-leveling compounds need to cure at a controlled rate. If the water evaporates too quickly, the surface shrinks faster than the material below it, causing stress fractures.
- Direct Sunlight: Pouring next to a large, sun-facing window in a Western Sydney home on a hot day can bake the surface.
- Wind and Drafts: An open door or a strong breeze, even from a fan, can accelerate surface drying.
- Low Humidity: Dry winter air can also pull moisture out too fast.
4. Application Thickness: Too Thin or Too Thick
Every product has a specified minimum and maximum thickness. Applying it too thinly means it dries out before it can properly cure and gain strength. Pouring it too thick can trap moisture and create internal stresses as it cures, leading to deep-set cracks.
5. Subfloor Movement: An Unstable Foundation
If your subfloor isn’t stable, nothing you put on top of it will be. This is particularly common in older Sydney homes or buildings with timber subfloors.
- Floor Joist Deflection: The joists may have too much “bounce.”
- Unsecured Floorboards: Loose boards can shift beneath the compound.
- Expansion Joints: Pouring directly over a concrete expansion joint without honouring it will cause a crack to appear right along the joint line.

Your Action Plan: How to Fix Cracked Self-Leveling Compound
Alright, so the damage is done. What now? Your approach depends on the severity of the cracks.
For Hairline or Surface Cracks:
- Assess the Bond: Gently tap the area around the cracks with a hammer or a golf ball. If it sounds hollow or drummy, that section has delaminated and needs to be removed. If it sounds solid, the bond is likely fine.
- Seal the Cracks: For minor, well-bonded cracks, you can often prime the floor and apply a fine skim coat or feathering compound over the top to fill them before proceeding with your flooring installation.
For Large, Deep, or Widespread Cracks:
This usually points to a more significant issue like delamination or major subfloor movement. In these situations, a patch job won’t cut it.
- Removal: The cracked and delaminated sections will need to be mechanically removed with a scraper or grinder.
- Re-Evaluate: You must identify and fix the root cause (e.g., clean and re-prime the subfloor, address structural movement) before attempting to pour again.
When to Call the Pros in Sydney
There’s a point where a DIY project can become a costly nightmare. If you’re facing widespread cracking, hollow-sounding patches, or suspect your subfloor has movement issues, it’s time to call for professional help. A professional flooring company like Elyment Group has the diagnostic tools and commercial-grade products to properly assess, repair, and prepare your subfloor for a flawless finish that lasts.
Don’t let a small crack turn into a major flooring failure. Follow us on X for more tips @ElymentGroup!
Key Takeaways for a Crack-Free Finish
- Preparation is 90% of the job. Your subfloor must be clean, stable, and correctly primed.
- Measure precisely. Never guess the water-to-powder ratio.
- Control the environment. Avoid direct sun, heat, and drafts while the compound cures.
- Respect thickness limits. Don’t go too thin or too thick.
- When in doubt, get a professional opinion. A small cost for advice can save thousands in repairs.