Engineered Timber Flooring Sydney: Bevelled vs Square Edges
Bevelled or square edges change how engineered timber flooring looks in Sydney homes. Understand joints, cleaning and fitting costs before choosing your boards.
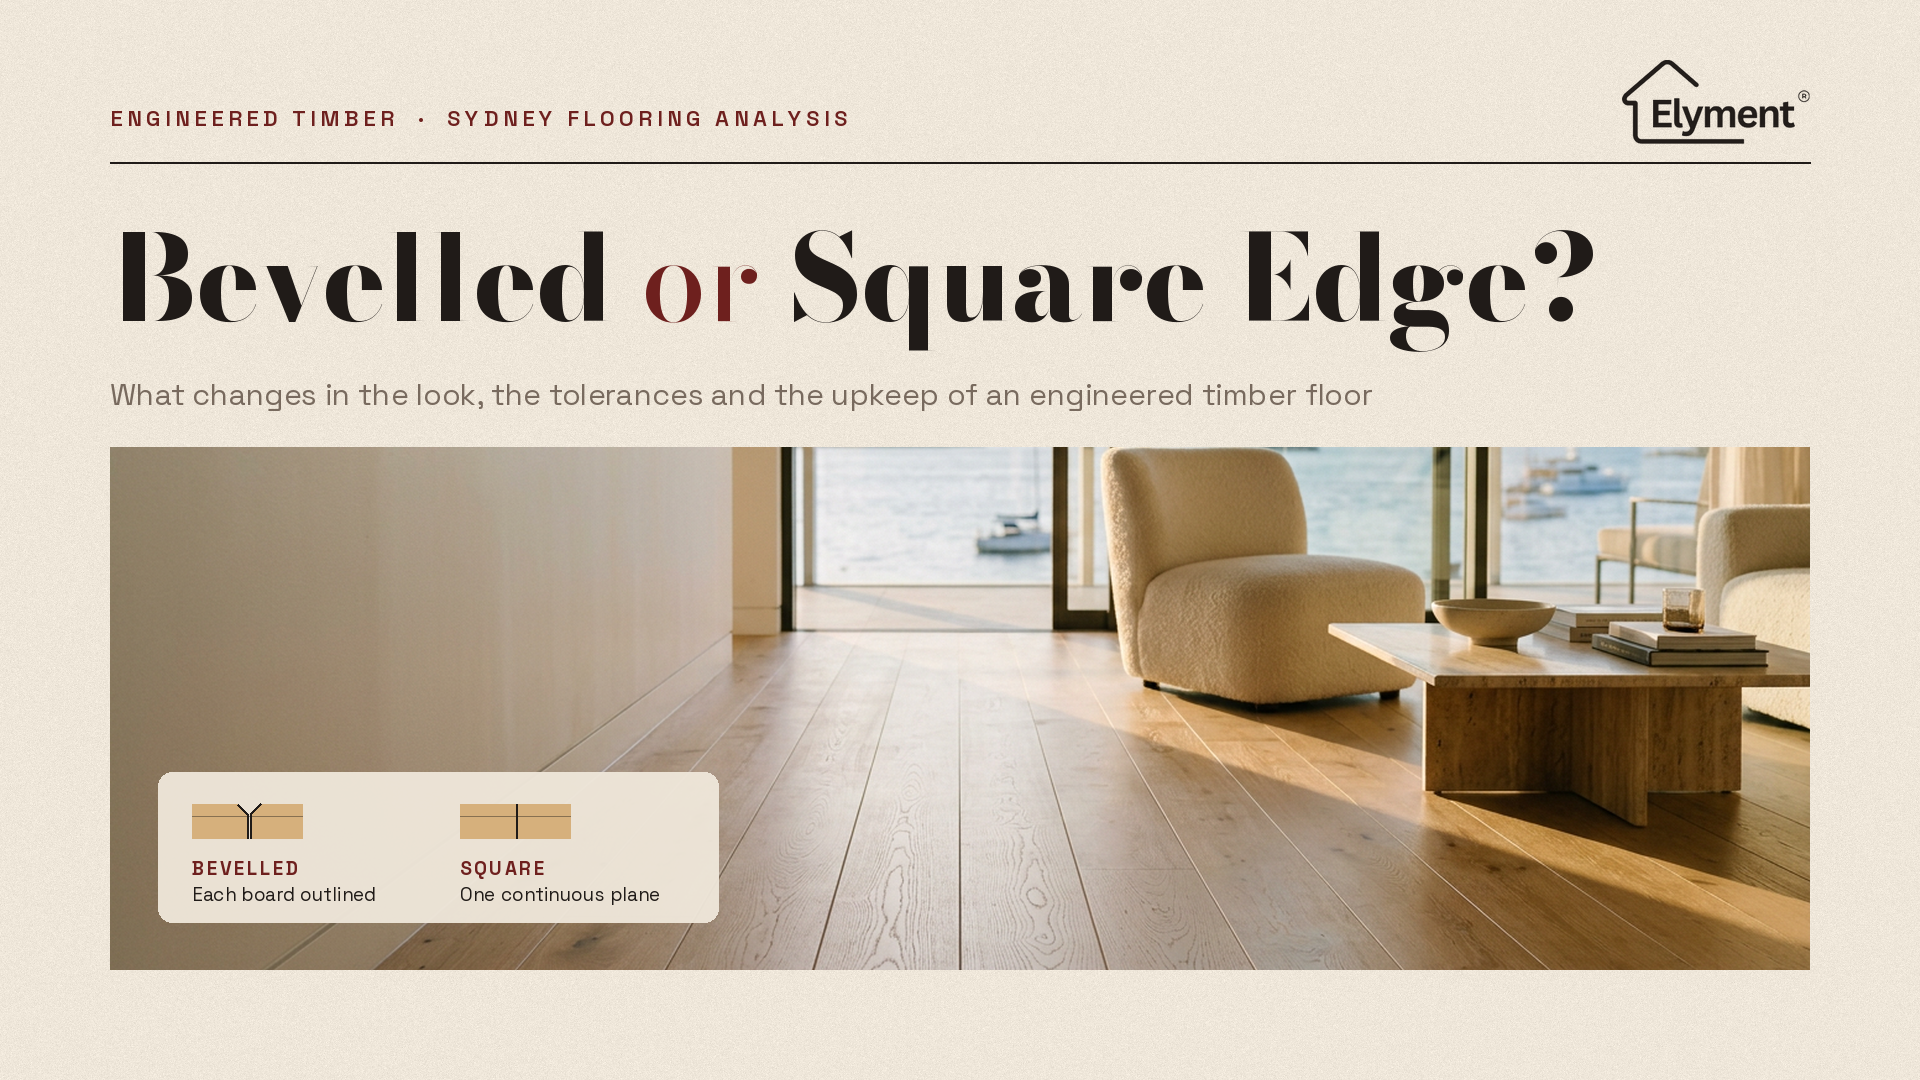
A bevelled edge outlines each engineered timber board, while a square edge makes the floor read as one continuous surface. In Sydney homes, where glancing light from large windows exposes small height differences, square edges are less forgiving of lipping and an uneven subfloor. Neither profile hides poor preparation. Choose from full-size boards seen in the actual room, record the edge profile in the quote, and plan cleaning around the joints you select.
A Small Detail That Changes How the Whole Floor Reads
Most engineered timber decisions in Sydney start with species, colour and board width. The edge profile is often settled by default, because it comes with whichever product the owner liked in the showroom.
That is a mistake. The shape of the board edge decides whether a room reads as a series of planks or as a single timber plane. It also changes how forgiving the floor will be of small height differences, how dirt collects along the joints, and what counts as a defect once the floor is down.
Manufacturers describe the difference plainly. Quick-Step's Australian specification for its ReadyFlor Spotted Gum 1 Strip High Sheen lists "0 grooves" and "No bevel", noting there is "no groove visible between planks which makes the room appear sleeker and more streamlined". The same brand's Cascada technical data sheet specifies a bevel on the long sides, which its product pages say will "accentuate the size of the planks".
Three Edge Profiles, Three Different Floors
The Australian Timber Flooring Association (ATFA) groups engineered boards into three broad edge types in its guidance on engineered floor appearance: bevelled edges and ends for greater board definition, a smaller micro bevel, and products that are flush at edges and ends.
Full Bevel (Long Sides or All Four Sides)
- How the floor reads: Each board is outlined. Width and length become part of the design.
- What it asks of the site: More tolerant of minor height variation between boards.
- Maintenance character: Grooves can collect fine grit and need regular vacuuming.
Micro Bevel
- How the floor reads: Boards are visible up close but softer from a standing position.
- What it asks of the site: Moderately tolerant.
- Maintenance character: Shallower joints, easier to keep clean.
Square Edge (No Bevel)
- How the floor reads: A continuous, streamlined surface closer to a sanded floor.
- What it asks of the site: Least tolerant. Lipping and subfloor faults are easier to see and feel.
- Maintenance character: Flush joints, but any edge mismatch catches dirt and light.
There is no single right answer. A bevel suits wide oak planks in a terrace hallway, where the owner wants the boards to be part of the design. A square edge suits a minimalist apartment, where the floor should recede behind joinery and furniture.
Why Square Edges Demand Tighter Tolerances
The practical difference shows up in lipping, the small height mismatch where two boards meet. ATFA's owner expectations guidance for engineered floors says lipping "can be felt mostly underfoot and particularly with square edge boards". It sets acceptable lipping in prefinished floors at less than 0.2mm for a square edge board and 0.5mm for a bevelled board.
In other words, the industry already accepts that a bevel hides more. A 0.4mm step between two bevelled boards sits inside the groove and within tolerance. The same step on a square edge exceeds the guidance and catches the eye whenever low sun crosses the floor.
Manufacturing tolerances point the same way. Quick-Step's Cascada data sheet sets its own lipping value between boards at 0.20mm or less. That figure assumes the boards sit on a substrate that meets the installation instructions. It doesn't allow for a slab with humps and hollows.
The Sydney Light Problem
Sydney apartments and renovated terraces increasingly use floor-to-ceiling glazing and north-facing living areas. Low-angle light skimming across a floor exaggerates every ridge. Square edges remove the shadow line that would otherwise disguise small variations, so the floor surface has to be genuinely flat for the look to work.
An Intentional Bevel Is Not a Gap
Owners sometimes mistake a bevelled joint for a gap, and some contractors are happy to let them. The two are different things and should be judged differently.
- A bevel is a machined chamfer on the board edge, finished in the factory with the rest of the surface. It is consistent along the board and identical from one board to the next.
- A gap is an opening between boards where the joint has separated or never closed. It varies along the length of the joint and may show the core or the click profile.
ATFA's guidance notes that with glueless click systems "no significant gapping at board edges and ends should be expected". Minor seasonal gapping can occur and is generally accepted. But wide gaps, especially where the jointing system has separated, require remedial work, and ATFA links board separation in floated floors to poor subfloor flatness, inadequate compartmentalisation and underlay thickness.
Quick-Step's Cascada data sheet sets its own limits for open joints when tested between 30% and 85% relative humidity: 0.20mm or less at short-side joins and 0.30mm or less at long-side joins. A bevel doesn't change those limits. It only changes how visible a separation is.
For structural timber flooring, the NSW Guide to Standards and Tolerances 2017 treats exposed flooring as defective if it has gaps of more than 2mm between adjacent boards that extend for more than 1m, or more than 5mm in total across three gaps between four consecutive boards. The guide notes that its floors section refers only to structural timber flooring, so for a floating engineered floor, the manufacturer's tolerances and ATFA guidance are usually the more relevant benchmarks.
No Edge Profile Fixes an Uneven Subfloor
The most persistent myth in Sydney flooring quotes is that a bevel will "hide" an uneven slab. It may hide a fraction of a millimetre at the joint. It will not hide a hollow that makes boards rock, creak or separate.
Quick-Step's Australian timber installation instructions state that concrete and timber subfloors "should not exceed 3 mm variation over 1 metre in any direction", with uneven subfloors to be ground flat or levelled. That requirement applies whatever edge the board carries.
In practice, the square-edge choice increases the stakes. On a renovation where old tiles, carpet or parquetry have come up, the substrate can carry adhesive ridges, patched areas and older levelling materials. These usually need flooring removal and strip-out first, then concrete grinding and floor levelling, before any engineered board is laid. Elyment's guide to floor flatness tolerances before installation sets out how these checks are measured.
Board size compounds the effect. As Elyment has examined in its analysis of why wide boards expose small levelling errors, a wide square-edge plank in a bright room is about the least forgiving combination on the market.
Selecting From Samples Without Being Misled
Small showroom samples are poor guides to edge profile. A 300mm offcut can't show how bevel lines repeat across a 6m living room, or how a square edge looks when the sun is low.
Manufacturers say so themselves. The Cascada data sheet warns that colour, grain and natural features "will vary from board to board and most often deviate from samples provided", and that "stains, bevels and surface textures vary by product". ATFA likewise cautions that small samples or photos "do not often convey a realistic perspective of what can be expected".
A more reliable selection process for Sydney projects:
- Shortlist by profile first. Decide whether the room should read as planks or as a continuous surface before comparing colours.
- Borrow full-length boards. Lay at least four or five boards side by side, tight together, in the room they're intended for.
- View at the right times. Check the boards in morning light, at the brightest point of the day and under the room's evening lighting.
- Stand, don't crouch. ATFA notes that floor appearance is usually assessed from a standing position, from the angle used in normal living.
- Check the transitions. Look at how the edge meets stair nosings, door thresholds and adjoining tiled or carpeted areas.
- Record the exact product code. Two colours in the same range can carry different edge profiles, so the code matters more than the range name.
Colour and edge interact. Light, matt finishes soften bevel shadow lines. Darker, high-sheen boards make them stronger. Elyment's reporting on sunlight and colour change in north-facing rooms shows why the viewing conditions on site matter as much as the sample itself.
Maintenance: What the Joints Ask of You
Edge profile changes the cleaning routine more than most owners expect.
- Bevelled floors have a continuous channel along each joint. Fine grit tracked in from the street, the beach or a building site settles there and is best removed with a soft-head vacuum before any mopping.
- Square-edge floors have flush joints, which are simpler to sweep. But any lipping or chipped edge holds dirt and becomes more visible over time.
- Textured or brushed surfaces need extra care. ATFA advises that damp mopping too often, or with too much water and the wrong detergent, can trap dirt in textured grain, and that dry cleaning methods should predominate.
Some manufacturers treat the joint as part of the finish. Quick-Step says its Surface and Edge Protect+ technology shields "both the surface and the joints" from dirt and moisture. Owners should still follow the cleaning products and methods named in the warranty, because using the wrong ones can affect cover.
Longer term, ask how a bevelled board behaves if the floor is ever resanded. The answer depends on the wear layer and the depth of the bevel, which Elyment covers in its guide to whether engineered timber can be sanded later. This is a separate question from whether the boards arrive factory-finished or are coated on site, which Elyment examines in its comparison of factory-finished and site-finished timber flooring.
What to Put in Writing Before Work Starts
Disputes over engineered floors often come down to expectations that were never written down. ATFA's guidance repeatedly advises owners not to assume the other party shares their view on appearance.
The NSW Government's guidance on contracts for residential building work requires a written contract where the price exceeds $5,000 including GST. It encourages owners to list the brand names and models of the products they want so that quoted prices are accurate. For a timber floor, that should include:
- The exact product code, species, grade, board size and finish.
- The edge profile: full bevel, micro bevel or square edge, and on which sides.
- The subfloor flatness standard the installer will achieve, and how it will be measured.
- Removal, grinding and levelling allowances, and how hidden substrate defects will be priced.
- Installation method, underlay, expansion allowances and trims.
- The cleaning and maintenance instructions the manufacturer requires for warranty purposes.
Variations must also be in writing. If an owner switches from a bevelled board to a square-edge board after the substrate has been assessed, the preparation scope may need to change with it.
The Decision in Practice
Consider two Sydney projects using engineered oak of the same width. In a Leichhardt terrace with original skirting and soft, filtered light, a bevelled board adds definition and tolerates the minor variation of a carefully levelled older slab. In a new Mascot apartment with full-height glazing and a minimalist kitchen, a square edge delivers the continuous look the design calls for, but only if the slab is ground and levelled to the manufacturer's requirement first.
The edge profile is a design choice, a tolerance choice and a maintenance choice made at the same time. The owners who are happiest at handover choose it deliberately, see it at full scale in their own light, and budget for the preparation that choice demands.
Choosing an Engineered Timber Floor for a Sydney Renovation?
Elyment reviews subfloor condition, removal and levelling scope, installation sequencing and product specification so the floor you choose performs the way it looked in the sample.
Request a Flooring Project Review
For owners still comparing products, Elyment's Sydney flooring services cover removal, preparation, installation and the coordination needed to get a square-edge or bevelled floor down to the standard its specification promises.
Sources and References
Industry Guidance and Manufacturer Specifications
- Quick-Step Australia – ReadyFlor Spotted Gum 1 Strip High Sheen
- https://www.quick-step.com.au/en-au/timber/readyflor/rfs4601_spotted-gum-2-strip-high-sheen
- Quick-Step – Cascada Technical Data Sheet
- https://premiumfloors.com.au/downloads/tds-quick-step-timber-cascada
- Australian Timber Flooring Association (ATFA) – Engineered Floor Appearance
- https://www.atfa.com.au/fm-engineered/
- ATFA – Owner Expectations: Engineered, Laminate and Bamboo Floors
- https://www.floorchoices.com.au/information-sheets/owner-expectations-engineered-laminate-and-bamboo-floors/
- NSW Government – Guide to Standards and Tolerances 2017
- https://www.nsw.gov.au/sites/default/files/noindex/2025-07/nsw-guide-to-standards-and-tolerances-2017.pdf
- Quick-Step Australia – Timber Installation Instructions
- https://www.quick-step.com.au/-/media/imported%20assets/flooring/6/2/4/qsinstallationewfaunzpdf224069.ashx?filename=Installation+instructions+Quick-Step+wood.pdf&rev=875c280334c148c4a6320b7bbc248ebd&type=original
- Quick-Step Australia – Timber Flooring and Surface and Edge Protect+ Technology
- https://www.quick-step.com.au/en-au/timber
- NSW Government – Contracts for Residential Building Work
- https://www.nsw.gov.au/housing-and-construction/building-or-renovating-a-home/preparing/contracts
Elyment Services and Related Articles
- Elyment – Flooring Demolition and Removal Sydney
- https://elyment.com.au/services/flooring-demolition-removal-sydney
- Elyment – Floor Levelling Sydney
- https://elyment.com.au/services/floor-levelling-sydney
- Elyment – Floor Flatness Tolerance Guide: Hybrid, Vinyl and Timber Specs Before Installation
- https://elyment.com.au/blog/floor-flatness-tolerance-guide-hybrid-vinyl-and-timber-specs-before-installation
- Elyment – Why Wide Boards Expose Small Levelling Errors Faster Than Narrow Timber
- https://elyment.com.au/blog/why-do-wide-boards-expose-small-levelling-errors-faster-than-narrow-timber
- Elyment – Engineered Timber Flooring Sydney: Can Direct Sunlight Change the Colour After Installation?
- https://elyment.com.au/blog/engineered-timber-flooring-sydney-in-north-facing-rooms-can-direct-sunlight-change-the-colour-after-installation
- Elyment – Engineered Timber Flooring Sydney: Can It Be Sanded Later or Is the Wear Layer Too Thin?
- https://elyment.com.au/blog/engineered-timber-flooring-sydney-can-it-be-sanded-later-or-is-the-wear-layer-too-thin
- Elyment – Timber Flooring Sydney: Factory-Finished vs Site-Finished
- https://elyment.com.au/blog/timber-flooring-sydney-factory-finished-vs-site-finished
- Elyment – Sydney Flooring Services
- https://elyment.com.au/services/flooring
- Elyment – Contact
- https://elyment.com.au/contact/
Choosing an Engineered Timber Floor for Your Sydney Renovation?
Elyment reviews subfloor condition, removal and levelling scope, installation sequencing and product specification so the floor you choose performs the way it looked in the sample.
Request a Flooring ReviewRelevant next actions
Explore the ELYMENT service most closely connected to this article.