Microcement Bathroom Sydney: Are White Marks Limescale, Sealer Wear or Standing Water?
White marks on microcement bathrooms in Sydney may be limescale, sealer wear or standing water. Learn the cause, risks and correct maintenance prior to repairs.
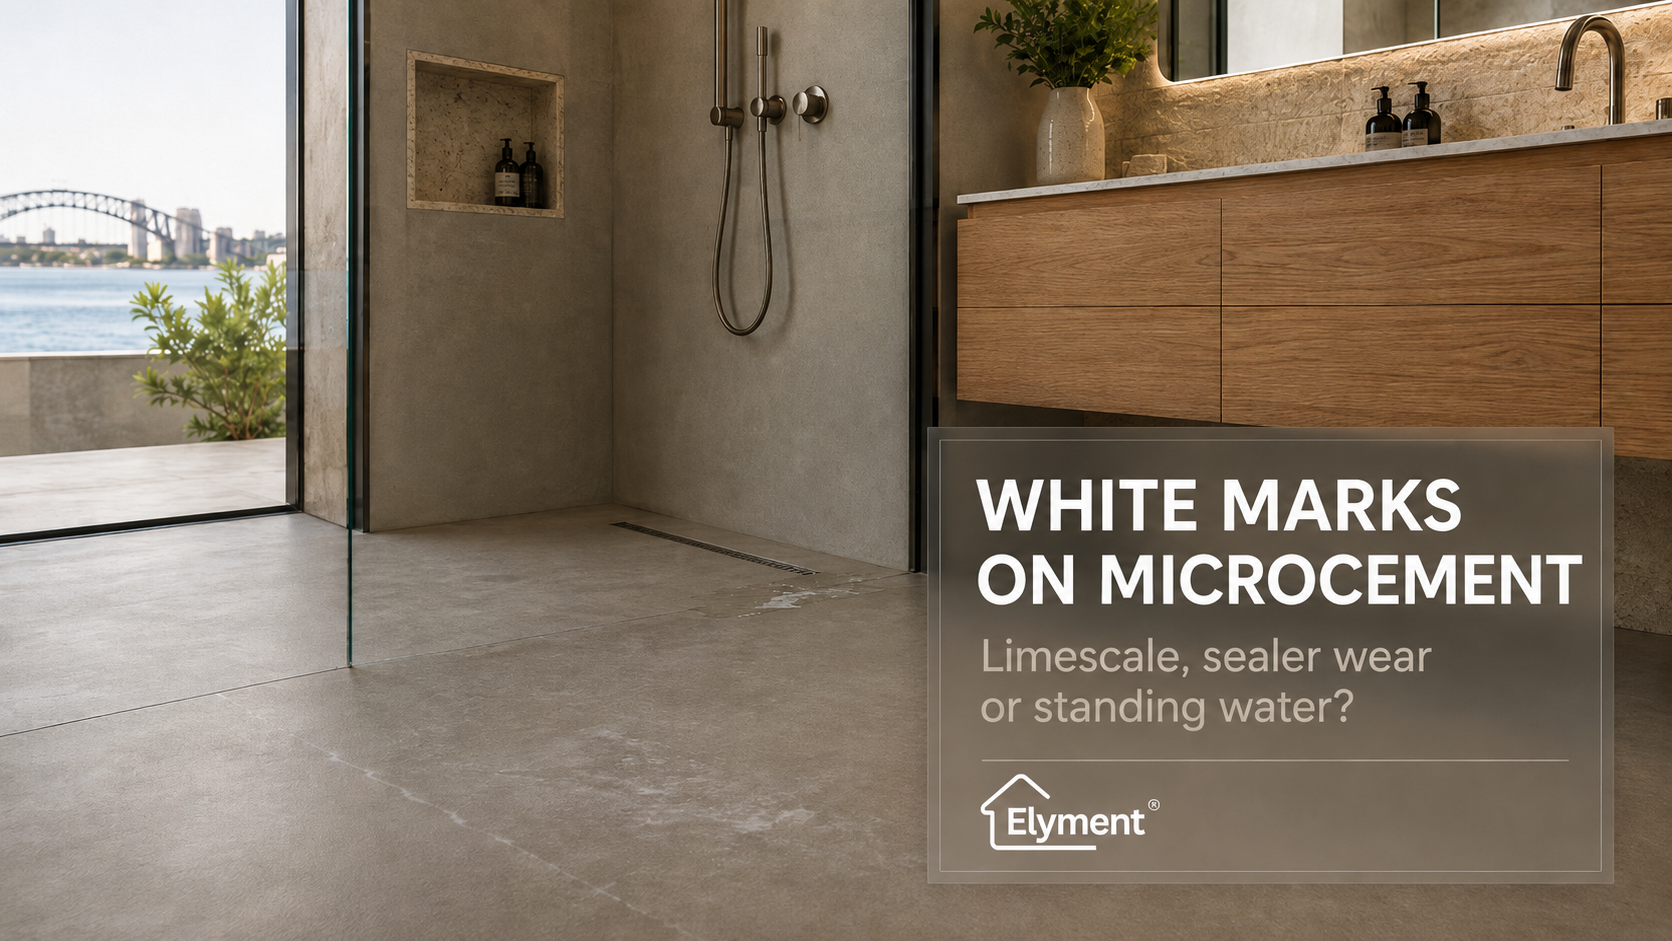
White marks on microcement in a Sydney bathroom can come from mineral deposits left as water evaporates, deterioration or clouding within the protective sealer, or repeated standing water caused by drainage geometry. These conditions can look remarkably similar but require different repairs. Before using acidic cleaners, sanding the surface or booking microcement resealing, owners should document the pattern, check drainage and identify the installed coating and sealer system.
A pale ring beside a shower waste can look like a cleaning problem. A cloudy patch beneath a mixer can look like limescale. A whitish area across the shower floor can appear to justify another coat of sealer.
Any of those conclusions may be wrong.
Microcement bathrooms create a particular diagnostic problem because the decorative finish, protective sealer, water exposure and drainage geometry are visually compressed into one continuous surface. When a conventional tiled shower develops a mark, grout lines and individual tiles can sometimes help identify where the problem begins. A seamless microcement floor provides fewer visual boundaries.
The useful question is therefore not simply, "How do I remove white marks from microcement?"
It is: what is producing the white mark, and does the proposed treatment address the cause or merely alter the appearance?
Three Similar Marks Can Require Three Completely Different Scopes
Owners should resist diagnosing a microcement surface from colour alone. Mineral residue, sealer deterioration and persistent ponding can overlap, particularly around shower wastes, screen lines, niches and frequently wet wall-to-floor junctions.
Mineral deposits
- Typical clues: Pale or chalky residue concentrated where droplets dry, around fittings or along evaporation lines
- What it can mean operationally: The coating may still be intact beneath a surface deposit
- Likely next step: Confirm the cleaning method permitted by the microcement and sealer manufacturer before attempting removal
Sealer wear or clouding
- Typical clues: Patchy whitening, inconsistent sheen, dull zones or marks that appear integrated into the surface rather than sitting on top
- What it can mean operationally: The protective finish may require restoration rather than stronger cleaning
- Likely next step: Inspect the complete sealer system and determine whether cleaning, controlled abrasion or recoating is appropriate
Standing water or poor drainage
- Typical clues: Marks repeatedly form around the same low area, puddle perimeter, drain approach or shower-screen line
- What it can mean operationally: The visible mark may be a symptom of floor geometry rather than the underlying defect
- Likely next step: Assess drainage and falls before spending money on repeated cleaning or resealing
More than one condition can exist simultaneously. Standing water, for example, can leave deposits while repeatedly exposing the same section of sealer. Cleaning away the residue may improve the appearance without correcting why that section of floor keeps becoming marked.
Sydney Water Does Not Make Every White Mark Limescale
Mineral residue is a reasonable possibility, but Sydney owners should be careful with the familiar assumption that every white bathroom mark is caused by exceptionally hard water.
Sydney Water's current water analysis guidance describes water hardness according to calcium carbonate concentration. It identifies water below 60 mg/L CaCO3 as soft and water above 60 mg/L as hard, while Greater Sydney's drinking water is reported at about 57 mg/L.
That distinction matters.
Sydney's supply is not at an extreme end of the hardness scale, but dissolved minerals are still present. Water droplets can evaporate and leave visible residue, particularly on darker, matte or highly uniform architectural finishes where small deposits contrast strongly with the background.
Shower products, hot-water use, cleaning products and the frequency with which an area remains wet can further complicate the appearance. A visible deposit does not, by itself, establish that the microcement has failed.
Equally, the presence of mineral residue does not prove the sealer underneath remains in good condition.
The First Inspection Should Map the Mark, Not Attack It
The most expensive mistake can occur before a contractor arrives. An owner sees white marks and starts experimenting with vinegar, strong bathroom descaler, abrasive pads or repeated scrubbing.
That can remove the evidence needed to identify the original condition and may alter a sealer that was previously repairable.
A more disciplined investigation starts with documentation.
- Photograph the bathroom completely dry.
- Record the overall floor and closer views of the affected areas under consistent lighting.
- Map the position of every mark.
- Note its relationship to the shower rose, mixer, niche, bath, screen, floor waste, linear drain and doorway.
- Look at the shape.
- A narrow evaporation line, broad cloudy zone and repeated puddle outline tell different stories.
- Assess whether there is material on the surface.
- Loose or chalky residue is different from whitening that appears to sit within the coating or sealer.
- Compare wet and dry areas.
- An equivalent section outside the shower can provide a useful reference for sheen, colour and texture.
- Review the cleaning history.
- Record bathroom cleaners, descalers, bleach products, acidic products, abrasive pads and steam-cleaning methods previously used.
- Observe normal drainage.
- Determine whether water clears from the affected area or repeatedly remains in the same depression after use.
- Identify the installed system.
- Obtain the microcement brand, product layers, sealer, installation date and maintenance guidance where available.
- Use only a manufacturer-supported test method.
- If a cleaning test is appropriate, start with a discreet area and the product manufacturer's nominated method rather than improvising with household acids.
A mark changing appearance when damp can provide another clue, but it should not be treated as a conclusive field test. Moisture temporarily changes the optical appearance of many mineral and coated surfaces.
Sealer Wear Usually Behaves Differently From Surface Deposit
The protective coating deserves particular attention because owners often use the terms "microcement" and "sealer" interchangeably.
They are not the same component.
Elyment's separate analysis of microcement, sealer and bathroom waterproofing explains why the visible decorative finish, protective surface coating and wet-area waterproofing function should not automatically be treated as one layer.
In an occupied bathroom, the sealer is the surface repeatedly exposed to water, cleaning products, soap contamination and physical cleaning. When its appearance changes, the symptoms may include:
- Loss of uniform sheen
- Lighter or duller high-use zones
- Cloudiness that does not behave like removable residue
- Different appearance around shower standing areas
- Localised changes where cleaning has been concentrated
- Visible boundaries between previous repair areas and the surrounding plane
A previous Elyment investigation into a microcement bathroom appearing darker after sealing examined the opposite side of the same technical issue: protective coatings can materially change the way colour, sheen and trowel movement are perceived.
This is why spot resealing requires caution. Even if adhesion is achievable, a small recoated patch can develop a different sheen or colour density from the surrounding floor. A technically sound repair can still look visually unsuccessful.
Standing Water Changes the Investigation
Where a white mark repeatedly forms in exactly the same low point, the cleaning discussion should stop long enough to assess floor geometry.
Microcement is a thin architectural finish. It is not a reliable substitute for correctly formed drainage beneath it. If the substrate or screed contains a depression, ridge or incorrectly formed approach to the waste, a thin decorative coating will often follow that geometry.
Useful site questions include:
- Does the mark correspond with a location where water visibly remains?
- Does water stop short of the floor waste?
- Is there a low strip beside a shower-screen channel?
- Does water collect around rather than move into a linear drain?
- Is there a ridge created by an earlier patch or repair?
- Does the puddle disappear only through evaporation rather than drainage?
The National Construction Code contains wet-area requirements relating to drainage and falls in applicable building work. The exact compliance pathway depends on the building classification, project date, applicable NCC edition, wet-area design and project documentation, so an occupied bathroom should not be assessed from a generic gradient quoted without context.
From a renovation perspective, the principle is simpler: a surface that persistently ponds should be assessed as a drainage condition before the project team keeps treating the resulting cosmetic marks.
Elyment's Sydney bathroom floor preparation and levelling work addresses this distinction between general floor regularity and intentionally formed wet-area drainage geometry.
Why Resealing Before Correcting Ponding Can Waste the Repair Budget
Consider a shower floor with a pale ring approximately 300 mm from the waste.
If the ring is treated as limescale, an owner may pay for specialised cleaning.
If the mark returns, the next proposal may be microcement resealing.
If it returns again because water continues to sit in the same depression, two scopes have been completed without addressing the operating condition that concentrates the exposure.
This is where remedial sequencing matters more than the nominal cost of the first treatment.
Controlled cleaning
- When it may make sense: Residue appears superficial and the sealer remains sound
- What should be resolved first: Product compatibility and a discreet cleaning test
Sealer restoration
- When it may make sense: The protective finish is worn, cloudy or inconsistent
- What should be resolved first: Cause of deterioration, existing coating compatibility and visual blending strategy
Local microcement repair
- When it may make sense: The decorative coating itself is damaged
- What should be resolved first: Substrate condition, repair boundaries, colour and texture matching
Drainage correction
- When it may make sense: Water repeatedly ponds because of floor geometry
- What should be resolved first: Falls, drain position, waterproofing interfaces and allowable build-up
Wet-area reconstruction
- When it may make sense: The investigation identifies broader membrane, substrate or drainage defects
- What should be resolved first: Design, licences, approvals, waterproofing and project sequencing
The Scope Can Change From Maintenance to Renovation Very Quickly
A controlled clean or compatible maintenance coat can be a relatively contained surface task.
Correcting the floor beneath that surface is a different proposition.
Grinding, rebuilding falls, altering a drain, removing coatings around a waste or reconstructing a shower floor can interact with waterproofing and other regulated building work. The project should therefore be re-scoped if the investigation moves below the decorative finish.
For Sydney strata apartments, this distinction can affect approvals. NSW Government strata renovation guidance identifies work requiring waterproofing as major renovation work rather than ordinary cosmetic work.
In regulated apartment buildings, some remedial building work can also interact with NSW's Design and Building Practitioners framework. The NSW Government guidance on remedial building work should be considered where rectification extends beyond simple maintenance into regulated building elements.
Residential bathroom renovation and specialist trade work also carry licensing considerations in NSW. Current NSW bathroom renovation licensing guidance distinguishes broader renovation work from specialist work that must be undertaken by appropriately licensed contractors.
Do Not Turn a Surface Diagnosis Into a Destructive Test
A white mark does not justify immediate grinding, sanding or chemical stripping.
Avoid:
- Using vinegar, lemon juice or acidic descaler unless the installed system specifically permits it
- Scrubbing with abrasive pads to see whether the mark disappears
- Spot sanding without understanding the coating build-up
- Adding another sealer coat over contamination
- Grinding around a floor waste without understanding waterproofing depth and detailing
- Assuming that a mark disappearing temporarily when wet proves it is harmless
- Calling every white deposit "efflorescence" without establishing where the material is originating
- Accepting repeated ponding as a maintenance issue if the same section consistently retains water
If mechanical preparation eventually becomes necessary, work involving cementitious materials must also be planned with appropriate dust controls. SafeWork NSW identifies respirable crystalline silica as a hazard where silica-containing materials are cut, drilled, sanded or otherwise mechanically disturbed.
A Better Restoration Quote Separates Diagnosis From Rectification
Owners comparing microcement repair quotes should look beyond a single line reading "clean and reseal bathroom".
A stronger remedial scope may separate:
- Initial surface inspection and photographic condition record
- Identification of the existing microcement and sealer where possible
- Small controlled cleaning trial
- Drainage and ponding assessment
- Assessment of coating wear or delamination
- Local repair requirements
- Full-plane sanding or preparation if the system requires it
- Resealing of a defined wall or floor plane
- Protection and bathroom closure during curing
- Removal and reinstatement of screens or fittings if required
- Waterproofing or floor-geometry investigation where the repair moves beneath the finish
- Post-repair cleaning and maintenance instructions
This structure makes variations easier to manage because cleaning, coating restoration and construction rectification are no longer hidden inside one ambiguous allowance.
The Pattern Usually Tells You Where to Investigate First
A practical first-pass decision process looks like this:
- The mark appears to sit on the surface and concentrates where droplets dry: investigate a mineral-deposit and cleaning pathway first.
- The surface itself looks cloudy, dull or different in sheen: investigate the sealer system before using stronger cleaning chemicals.
- The mark follows a repeated puddle or low point: assess drainage before booking another cosmetic treatment.
- Mineral residue and ponding occur together: remove the deposit carefully, but resolve why water remains before treating recurrence as a cleaning problem.
- White marks are accompanied by cracking, persistent darkening, movement or moisture concerns: broaden the investigation beyond surface maintenance.
Owners should also distinguish drainage from slip performance. Elyment's recent analysis of slip resistance in seamless microcement shower floors examines the separate question of how texture, sealer, contamination and the completed surface system affect wet-use safety.
MICROCEMENT, WET-AREA & RENOVATION PROJECT REVIEW
Diagnose the Surface Before You Commit to the Repair
Review white marks, sealer condition, drainage, floor preparation, waterproofing interfaces and remedial sequencing before cleaning, resealing or reconstructing the bathroom finish.
The Practical Conclusion
White marks on a microcement bathroom are not one defect with one standard repair.
A mineral deposit may need only an approved cleaning method. A deteriorated protective coating may require controlled preparation and microcement resealing. A repeated white ring around a puddle may be telling the owner that the real problem is drainage geometry beneath the finish.
In Sydney bathrooms, that distinction becomes particularly important when a seemingly minor restoration starts moving towards grinding, rebuilding falls, altering drains or disturbing waterproofing. At that point, the work has moved beyond cosmetic maintenance and into renovation planning, trade coordination and potentially strata or regulatory approval.
The efficient sequence is therefore simple: record the mark, identify the pattern, assess drainage, establish the installed surface system and only then select the repair.
Harsh cleaning should not be the diagnostic method. Resealing should not be used to conceal unresolved ponding. And microcement repair should not begin until the project team knows whether the visible white mark is the problem or merely evidence of one.
Direct Answers for Sydney Property Owners
Can limescale leave white marks on microcement?
Yes. Dissolved minerals can remain as water evaporates, producing pale or chalky deposits. However, a white mark should not automatically be diagnosed as limescale because sealer clouding and repeated standing water can create a similar appearance.
Can vinegar be used to remove white marks from microcement?
Do not assume so. Acidic cleaners can affect some microcement sealers and finishes. Check the maintenance requirements for the installed product and begin with a manufacturer-approved cleaning method.
Do white patches mean the microcement needs resealing?
Not necessarily. Resealing may be appropriate where the protective coating has worn or deteriorated, but it will not correct mineral contamination left beneath the new coating or a floor that continually holds water.
Can standing water damage a microcement bathroom?
Persistent ponding increases repeated water exposure at the same location and can concentrate residue and cleaning activity. More importantly, repeated ponding can indicate that the drainage geometry itself requires assessment.
Can a damaged section of microcement be repaired locally?
Some systems can be repaired locally, but colour, texture and sheen matching can be difficult on a continuous hand-applied finish. The repair boundary and final resealing strategy should be agreed before work begins.
Sources and References
- Sydney Water: Water Analysis and Hardness Guidance
- Elyment: Microcement, Sealer and Bathroom Waterproofing
- Elyment: Microcement Bathroom Appearing Darker After Sealing
- National Construction Code
- Elyment: Sydney Bathroom Floor Preparation and Levelling
- NSW Government: Strata Renovation Guidance
- NSW Government: Remedial Building Work
- NSW Government: Kitchen, Bathroom and Laundry Renovation Licensing Guidance
- SafeWork NSW: Crystalline Silica General Fact Sheet
- Elyment: Slip Resistance in Seamless Microcement Shower Floors
- Elyment: Request a Project Review
Diagnose the Surface Before You Commit to the Repair
Review white marks, sealer condition, drainage, floor preparation, waterproofing interfaces and remedial sequencing before cleaning, resealing or reconstructing the bathroom finish.
Review the SurfaceRelevant next actions
Explore the ELYMENT service most closely connected to this article.