Floor Levelling Sydney at a Cavity Sliding Door: How Is the Pocket Kept Clear During the Pour?
Learn how floor levelling at cavity sliding doors in Sydney keeps the door pocket clear during pours, avoiding blockages, damage and costly rectification risks.
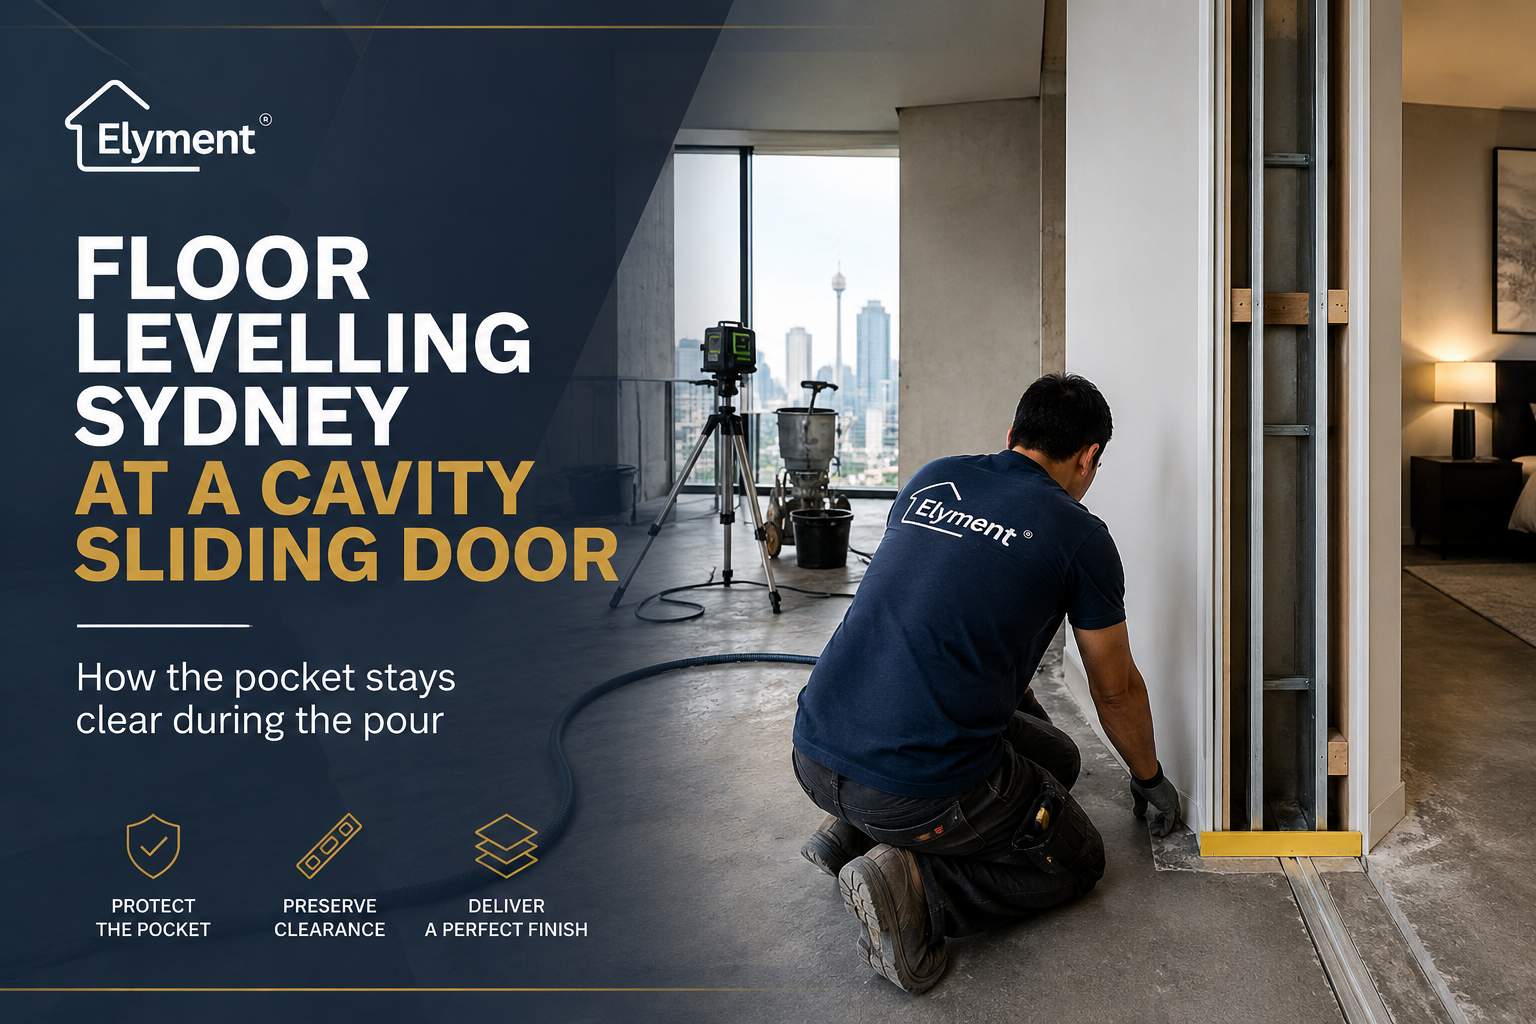
At a cavity sliding door, self levelling compound should not be allowed to run uncontrolled into the wall pocket. In Sydney renovations, the usual approach is to identify the pocket mouth, door guide and final floor datum, then install a sealed temporary stop-end just inside the cavity line so the visible doorway can be levelled while the mechanism stays clear. The detail must suit the door manufacturer, finished floor height and any strata conditions.
A cavity sliding door creates an unusual problem for floor levelling. To the person standing in the room, the opening can look like an ordinary doorway. To a levelling crew, it is an opening into an inaccessible wall cavity containing a moving door, guides, frame components, fixings and a floor zone that may never have been intended to receive a fluid cementitious topping after the door system was installed.
That distinction matters because self levelling compound in Sydney is deliberately formulated to flow. The same characteristic that allows the material to smooth minor surface variation also means it can find narrow gaps below jambs, behind cavity frames and around penetrations that appear insignificant before mixing begins.
The objective is therefore not simply to "block the door". It is to establish a controlled termination point that keeps the cavity mechanism clean while allowing the floor levelling compound to reach the correct datum through the usable doorway.
The Pocket Is Part of a Door System, Not Spare Floor Area
A cavity sliding door disappears into a framed pocket within the wall. Depending on the system, the installation may contain an overhead track, trolley assemblies, split jambs, floor guides, stops, removable trim and fixings close to floor level.
Published Australian cavity-door installation guidance reinforces why this area cannot be treated casually. CS Cavity Sliders advises builders to level the floor beneath a pocket when installing a new system and to protect the track from construction contamination. Other Australian cavity-unit instructions require the final floor covering and door clearance to be considered when the door height is established.
That leads to two very different project conditions.
- New cavity unit has not yet been installed
- The substrate beneath the future pocket can often be corrected before the cavity frame goes in.
- The work remains subject to the door supplier's installation requirements.
- Existing cavity unit is already installed
- The crew needs to protect the operating pocket, guides and clearances.
- Compound should not be assumed to be able to flow underneath the wall system.
The second condition is the one that creates the practical containment problem in established Sydney apartments, houses and fit-outs.
Why the Pour Can Become a Door Problem Within Minutes
Self levelling cement is not poured with the consistency of a conventional dry-pack screed. Depending on the selected product, it may be spread using a rake, trowel or pump and is designed to remain sufficiently fluid during its working time to merge with adjoining material.
If there is an unsealed opening below a cavity jamb, that fluidity can produce several problems:
- Compound can migrate underneath or behind the cavity frame.
- The lower edge of the door leaf can become contaminated if it is sitting inside the pocket.
- Nylon guides or adjustment points can become partially embedded.
- Future door removal or adjustment may become more difficult.
- The pour may lose material into an unseen void, changing the depth beside the doorway.
- A hardened lump inside the pocket can later interfere with the door's travel.
- The final floor level can reduce the clearance beneath the door more than expected.
None of those failures requires a dramatic flood of compound. A relatively small amount in the wrong position can be enough to affect a mechanism operating with limited clearance.
The Better Detail Is Usually Hidden Behind the Jamb Line
A common mistake is to create a temporary dam straight across the doorway. That can protect the pocket, but it may introduce a second problem: the visible circulation path now contains a pour break exactly where the finished floor is supposed to appear continuous.
Where the door configuration permits it, the more controlled approach is generally to locate the temporary stop-end at, or slightly inside, the pocket mouth behind the finished jamb line.
This allows the floor levelling compound to remain continuous across the visible door opening while preventing uncontrolled entry into the cavity.
The precise location cannot be standardised because cavity systems differ. Before the barrier is positioned, the installer needs to identify:
- Where the door leaf finishes when fully retracted.
- Where the floor guide is fixed.
- Whether any cavity frame fixings sit close to the slab.
- Which trims or pelmets are removable for future servicing.
- Whether the pocket floor needs to remain accessible.
- Where the new finished flooring will terminate.
- Whether a required movement joint exists nearby.
The barrier is therefore a project detail, not simply a strip of tape applied before the mixer starts.
What a Proper Temporary Stop-End Needs to Do
The temporary barrier has a simple job, but it has to perform reliably for the entire wet stage of the pour.
It should be:
- Sealed: There should be no open route underneath or around its ends.
- Stable: The barrier must resist the pressure of the wet compound without folding or moving.
- Positioned outside the operating mechanism: It must not trap the door guide, door leaf or adjustment hardware.
- Compatible with the substrate and primer: Temporary materials should not leave contamination that compromises the finished floor.
- Removable: The temporary detail should be capable of removal without breaking the new levelling layer or damaging the cavity frame.
- High enough: The stop-end needs adequate freeboard above the planned levelling depth.
Depending on the situation, installers may use a combination of a rigid temporary strip, closed-cell foam or backing material and a carefully sealed perimeter. The correct detail depends on the compound, depth, substrate and door system.
Tape alone should not be assumed to provide adequate containment for a meaningful depth of self levelling compound. Adhesion to dusty metal, raw timber, primed concrete or an irregular cavity frame can be unreliable, and a failure may not become obvious until material is already disappearing behind the wall.
The Pour Should Start With a Door Inspection, Not a Mixing Paddle
The cavity-door interface should become a formal pre-pour hold point.
- Expose and inspect the substrate.
- Remove the existing floor covering, adhesive, weak patch material and other residues required by the flooring scope.
- Map the floor datum.
- Laser readings should establish how much correction is actually required beside the cavity door and across the surrounding room.
- Calculate the complete finished floor build-up.
- The project team needs to allow for leveller, adhesive, acoustic underlay where applicable and the final flooring product.
- Operate the door before it is disturbed.
- Run the door through its full travel and record the existing clearance, guide position and any rubbing or misalignment.
- Identify what can safely be removed or protected.
- Where appropriate and consistent with the manufacturer's instructions, a carpenter or competent installer may remove the door leaf or guides so they are not exposed to the wet works.
- Install and inspect the stop-end.
- The barrier is positioned so the trafficable opening can be levelled without filling the operating pocket.
- Prime only the intended levelling substrate.
- Primer should not be casually carried onto door components or surfaces that are not part of the nominated levelling system.
- Pour while monitoring the cavity line.
- The stop-end should remain visible and accessible during the initial wet stage so seepage can be identified before the compound hardens.
- Remove or trim the temporary detail at the appropriate stage.
- The finished edge should comply with the selected levelling system and the requirements of the final flooring.
- Recheck the door before handover.
- Once curing permits, confirm door travel, clearance, guides and the relationship between the levelled floor and intended finish.
Finished Floor Height Is the Second Risk
Protecting the pocket from wet compound solves only half the problem.
The completed floor still needs to fit beneath the door.
Australian cavity-unit installation guides demonstrate why a generic clearance assumption is risky. Depending on the product, the available floor clearance may be only a few millimetres at the lower end and may be adjusted during installation. Some manufacturer guidance expressly requires the builder to determine the floor-covering clearance.
That means the levelling crew cannot consider its work in isolation.
Suppose the existing opening has 12 mm beneath the door and the project proposes:
- 5 mm average floor levelling compound.
- 3 mm acoustic underlay.
- 8 mm engineered or hybrid flooring.
The individual layers may each appear reasonable, but the combined build-up clearly cannot be judged against a 12 mm opening without redesigning some part of the system. Grinding a local high point, changing the datum, adjusting the door or reconsidering the floor build-up may be required.
This is the broader lesson discussed in Elyment's analysis of why doors stop closing after new flooring. At a cavity slider, however, the coordination is more specialised because the moving leaf disappears into a concealed frame rather than swinging through an open room.
The Floor Guide Can Decide Where the Detail Has to Stop
Many cavity sliding doors use a guide near the base of the split jamb to keep the door travelling straight.
That small component deserves attention before the pour.
If the guide is fixed to the existing slab and the new levelling layer surrounds it, several questions arise:
- Will the guide still have enough adjustment after the floor is raised?
- Does it need to be temporarily removed and refitted?
- Will the final flooring sit below, around or over the fixing position?
- Will burying the fixing make future replacement unnecessarily difficult?
- Will the changed floor level alter the relationship between the guide and door groove?
The answers belong with the door-system requirements and carpenter's scope, not with assumptions made during the levelling pour.
Do Not Turn the Pocket Mouth Into an Accidental Movement Joint
A temporary stop-end and a structural movement joint are not the same thing.
Existing movement, construction or isolation joints in the slab need to be identified before levelling starts and treated in accordance with the selected flooring system. ARDEX Australia, for example, advises that existing movement joints must be carried through topping systems rather than simply filled and forgotten.
Conversely, a cavity door does not automatically create a structural movement joint simply because it is a doorway.
The project team therefore needs to distinguish between:
- A temporary barrier used only to prevent compound entering the pocket.
- A deliberate pour break required by sequencing.
- An existing structural or movement joint that must remain functional.
- A flooring transition required by the finished-floor manufacturer.
Confusing these details can leave a visible ridge, weak edge or crack at one of the most noticeable lines in the room.
Sometimes Grinding Is the Better Door-Clearance Strategy
Not every low area beside a cavity door should automatically be filled until it meets the highest point in the room.
If a small concrete ridge near the opening is controlling the whole floor datum, selective reduction of that high point may lower the required levelling depth and preserve door clearance.
Elyment's analysis of when concrete grinding can reduce a floor levelling build-up explains why high-point removal can sometimes prevent a much larger quantity of compound from being added across the surrounding area.
The decision should follow measurement. Grinding is not a substitute for filling genuine depressions, and it should not be used aggressively where slab thickness, services or structural conditions are uncertain.
Where concrete grinding is required, the work also has a NSW safety dimension. Processing concrete can generate respirable crystalline silica, and SafeWork NSW requires crystalline-silica processing to be appropriately assessed and controlled.
Sydney Apartments Add Another Layer of Coordination
Cavity sliding doors are common in apartment bedrooms, ensuites, laundries and compact internal layouts because they save swing space. Those are also projects where hard-floor replacement may interact with strata approvals, acoustic requirements and tightly controlled building access.
NSW Government strata guidance identifies installing or replacing hard flooring, including some projects where carpet is removed, as work that may fall within the minor-renovation approval process. Individual scheme by-laws still need to be checked before work starts.
For a Sydney floor levelling project with restricted building access, the operational programme can therefore include:
- Strata or building-manager approval.
- Acoustic documentation for the finished flooring.
- Lift bookings and common-area protection.
- Approved noisy-work periods for removal or grinding.
- Substrate preparation and primer timing.
- Door or carpentry attendance before the pour.
- Levelling cure time.
- Flooring installation and final door adjustment.
The cavity-door detail may occupy only a few hundred millimetres of wall line, yet missing it can delay several trades.
Where the Cost Usually Appears
Protecting a cavity pocket is not generally a major material cost. The financial impact arises when the interface is discovered too late.
- Compound enters the pocket
- Cleaning, door removal, mechanism repair or local floor rectification.
- Door clearance becomes insufficient
- Carpenter return visit, door adjustment or floor redesign.
- Guide becomes embedded
- Restricted adjustment and more complicated future servicing.
- Temporary dam creates a visible ridge
- Grinding, feathering or additional preparation before flooring.
- Extra levelling depth is discovered at the doorway
- More bags, revised cure time and changed finished-floor height.
- Carpentry was not included in the scope
- Programme delay while another trade is booked.
This is why comparing only a per-bag rate can be misleading. Elyment's floor levelling cost Sydney guide explains how substrate condition, preparation, depth and access can materially change the delivered scope.
What the Quote Should Say Before the Pour Is Approved
A well-structured quotation should make the cavity-door interface visible rather than leaving it to the crew to solve while mixed material is already on the floor.
Useful scope wording should clarify:
- Whether the cavity sliding door is existing or newly installed.
- Whether door-leaf removal or carpenter attendance is included.
- Who is responsible for removing and reinstating floor guides.
- The nominated levelling area and approximate depth.
- The intended temporary containment detail at the pocket.
- Whether local concrete grinding is required to preserve clearance.
- The final flooring and total planned build-up.
- Any exclusions relating to door hardware, frame adjustment or replacement.
- The inspection point before flooring installation proceeds.
This turns an improvised site decision into a documented project-control item.
A Practical Pre-Pour Check at the Cavity Door
- Door operation
- Door runs freely before preparation begins.
- Pocket location
- Exact cavity mouth and moving-door zone are identified.
- Floor guide
- Guide position, fixing and future adjustment remain accessible.
- Existing clearance
- Measured between the door leaf and current substrate or finish.
- Final build-up
- Leveller, adhesive, underlay and flooring are considered together.
- Stop-end
- Stable, sealed, removable and outside the operating mechanism.
- Primer
- Applied only to the intended prepared substrate.
- Movement joints
- Existing joints identified and treated separately from the temporary dam.
- Post-pour test
- Door travel and clearance checked after the floor reaches the appropriate cure stage.
FLOOR LEVELLING, DOOR CLEARANCE & PROJECT DELIVERY REVIEW
Resolve the Cavity Door Detail Before the Pour Starts
Review the floor datum, substrate preparation, cavity-door protection, finished floor height, grinding requirements, strata conditions and trade sequence before self levelling compound is committed to the floor.
The Operational Lesson Is About Containment and Sequence
A cavity sliding door does not prevent a room from being successfully levelled. It simply creates an interface that needs to be resolved before the pour becomes irreversible.
On an existing installation, the strongest approach is generally to keep self levelling cement out of the operating pocket, position a properly sealed temporary stop-end where it will not create an unnecessary visible break, preserve the floor guide and serviceable components, and calculate the finished floor build-up against the actual door clearance.
On a new installation, there may be an opportunity to correct the substrate below the future cavity before the frame is installed, which can simplify both the door installation and the later flooring sequence.
For Sydney property owners, builders, designers and project managers, the difference is planning. A few minutes spent mapping the pocket, guide and finished level before mixing can prevent compound from hardening in a place designed to remain clear for the life of the door.
The floor levelling scope should therefore finish with more than a flat surface. It should leave the adjoining architecture functional, accessible and ready for the next trade.
Editorial note: This article provides general renovation and project-planning information for Sydney and NSW. Cavity-door systems and levelling compounds vary. Manufacturer instructions, project documentation, applicable Australian Standards, strata requirements and advice from the relevant qualified trades should take precedence for a specific installation.
Sources and Technical References
- NSW Government: Strata renovation rules
- NSW Government: Home building safety and standards
- SafeWork NSW: Crystalline silica
- CS Cavity Sliders Australia: Cavity slider installation tips
- Corinthian Doors: Cavity unit installation instructions
- ARDEX Australia: Flooring systems technical bulletins
- Elyment: Self-Levelling Compound Sydney
- Elyment: Floor Levelling Cost Sydney
Resolve the Cavity Door Detail Before the Pour Starts
Review the floor datum, substrate preparation, cavity-door protection, finished floor height, grinding requirements, strata conditions and trade sequence before self levelling compound is committed to the floor.
Request a ReviewRelevant next actions
Explore the ELYMENT service most closely connected to this article.